A damaged leaf tells you where the plant was hurt, not automatically what did it. Ragged holes, pale stippling, clipped stems, tunnels, wilt, scars, and soft fruit each narrow the field, but only when the gardener reads the whole pattern.
The quickest way to misdiagnose a garden is to begin with a product. Begin instead with place, shape, time, and evidence.
Take one picture of the whole plant, one of the damaged part, one of the underside or stem interior, and one of the surrounding bed. A single close-up often hides the clue that solves the case.
Confirm the cause of garden damage before treating
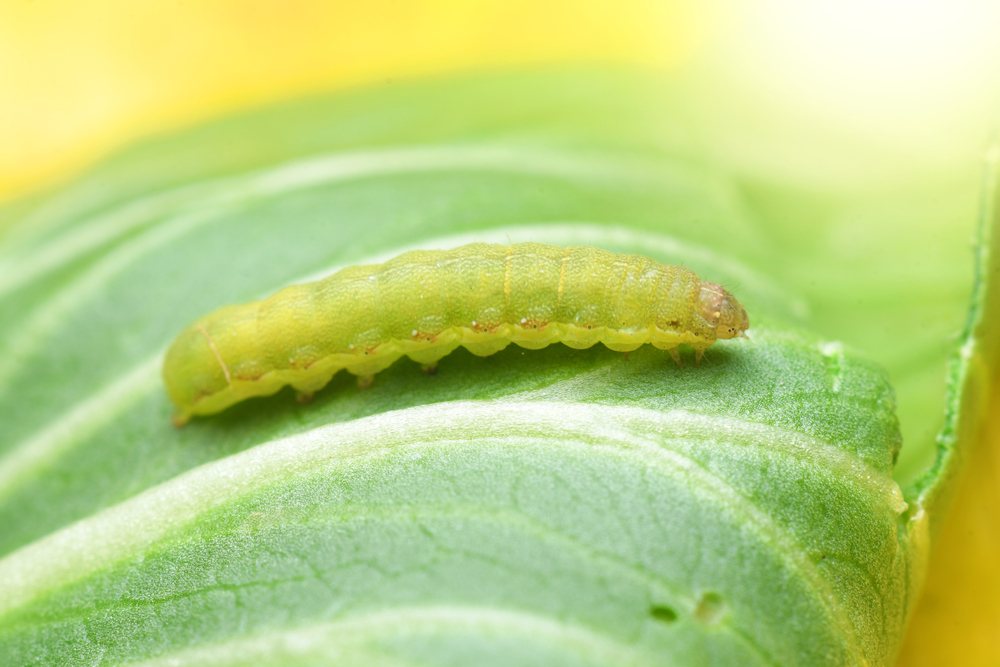
First separate chewing, sucking, boring, mining, and rasping injury. Chewers remove tissue. Sap feeders discolor or distort it. Borers hide within stems or roots. Miners leave trails inside leaves.
Then search for what the pest leaves behind: eggs, frass, skins, webbing, honeydew, slime, entry holes, galleries, or the insect itself.
- Inspect fresh damage, not old weathered holes.
- Turn leaves over and open folded tissue.
- Check at dawn, dusk, and after rain when hidden feeders are active.
Read the pattern, not one damaged leaf
Damage location is often more useful than the insect’s color. A clipped seedling points toward a different group than a tunneled stem or a scar on fruit touching soil.
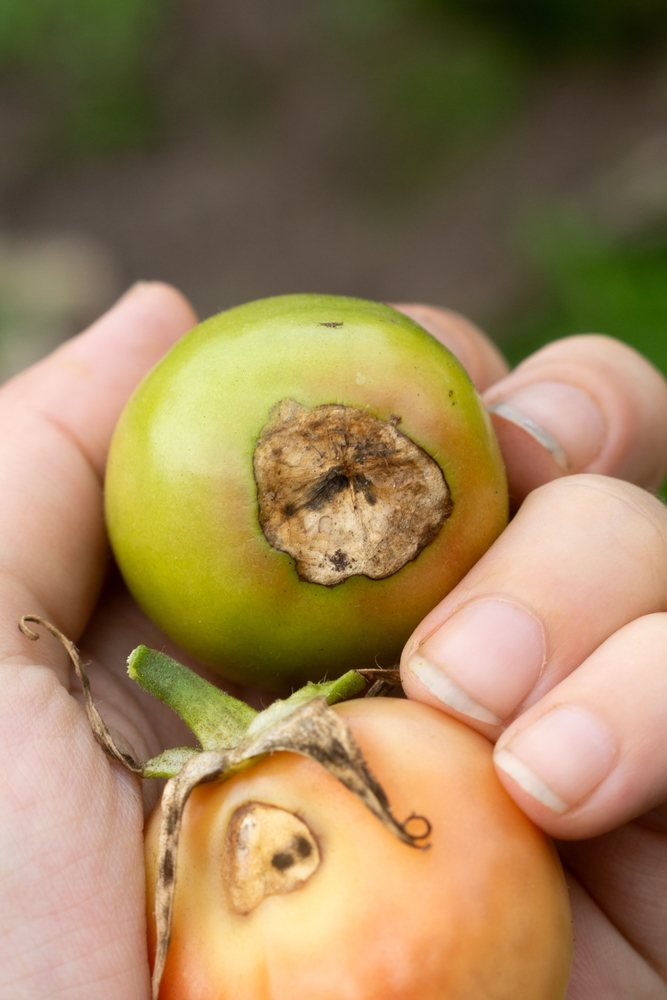
Plant disorders and disease can mimic insects. Blossom-end rot, drought scorch, nutrient injury, herbicide drift, hail, and sunscald all damage tissue without a chewing pest.
| What you see | What it suggests | What to check next |
|---|---|---|
| Clean semicircles from leaf edges | Leafcutter bee | No control; the plant usually tolerates it |
| Serpentine trails inside a leaf | Leafminer | Open a mine and identify the larva or frass line |
| Stem hole with sawdust-like frass | Borer | Trace the tunnel and identify the host-specific pest |
| Fine pale stippling and webbing | Spider mites | Check undersides with a hand lens |
| Black sunken fruit end opposite the stem | Blossom-end rot | Review water consistency before adding calcium |
Start with the least disruptive correction
Mark several affected plants and compare them with healthy neighbors. Confirm whether new damage appears overnight, after heat, or after irrigation.
- Use a hand lens and a white sheet to inspect small insects.
- Dig one declining plant with roots intact rather than pulling the stem loose.
- Cut a suspect stem lengthwise only after photographing the outside.
- Use traps and refuge boards as monitoring tools, not automatic treatments.
Protect the crop while the garden recovers
The worst habit is treating symptoms without confirming the cause. Broad sprays can kill pollinators and predators while leaving a hidden borer or physiological disorder untouched.
A precise diagnosis is often slower for one hour and faster for the rest of the season.
- Do not diagnose by an internet photo alone.
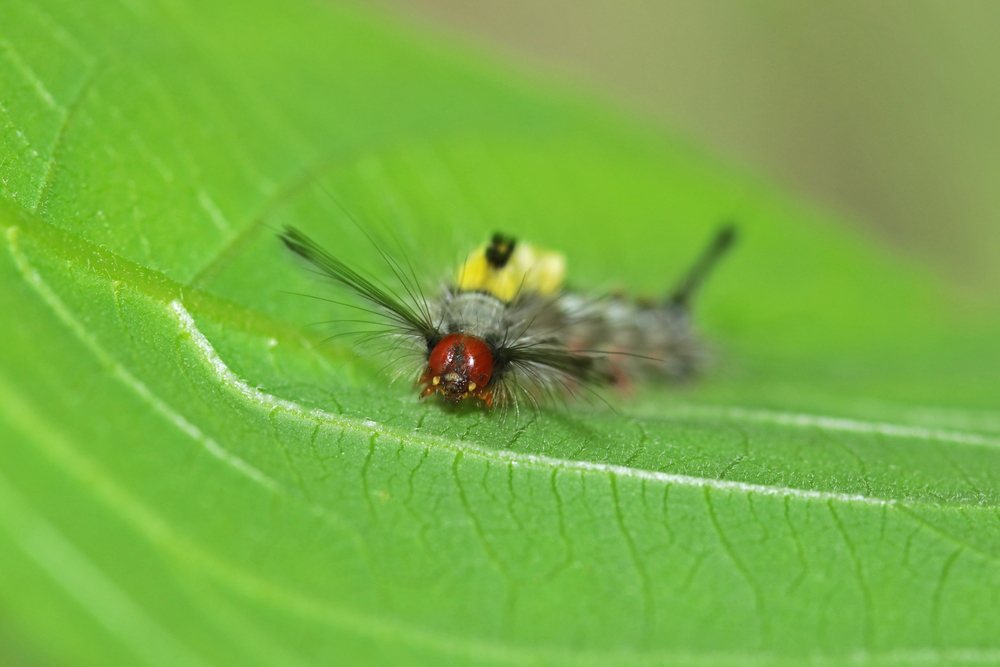
- Do not assume every caterpillar is the species in the first search result.
- Do not apply a pesticide to a crop or pest absent from the label.
Use weather and season as part of the diagnosis
Season and geography change the likely suspects. Warm coastal gardens see longer insect activity, while mountain gardens may compress the same life cycles into a shorter window.
Local extension alerts, degree-day models, and your own first-sighting notes improve timing. The pest that was common last year is not automatically the cause this year.
Know when the problem needs a different answer
If a sample is declining rapidly, preserve an intact plant, root ball, and several stages of damage. Do not send a single dried leaf when the crown or roots may contain the answer.
Use a diagnostic clinic for unfamiliar pests, suspected regulated species, repeated crop failure, or symptoms that cross several unrelated crops.
When the evidence does not support a pest, do not force the diagnosis. Water, soil, weather, and chemical injury deserve equal consideration.
Put this guide to work in a real garden
Put this guide beside the plant, not just beside the computer. Begin with one affected specimen and compare it with a healthy plant of the same kind. Record where the symptoms begin, whether the newest growth is changing, and what insects or fungal signs are actually present. With garden pest identification, the pattern is usually more useful than the most dramatic leaf.
- Mark the affected plant and the date.
- Inspect the upper and lower leaf surfaces, stems, crown, and nearby soil.
- Note recent rain, irrigation, heat, fertilizer, transplanting, or pruning.
- Choose the least disruptive correction that addresses the confirmed cause.
- Return on a scheduled date instead of treating repeatedly from anxiety.
Use a 30-day checkpoint instead of guesswork
Day 14: decide the next level
Keep a one-season record
- Host plant and cultivar
- First symptom and plant part affected
- Weather and watering during the previous week
- Natural enemies, eggs, larvae, spores, or residue observed
- Action taken and what changed afterward
Questions gardeners ask
Why can’t I identify a pest from one damaged leaf?
Old damage changes as tissue expands and dries. The whole plant, fresh injury, pest evidence, and site conditions are needed to separate insects from disease and stress.
What is frass?
Frass is insect waste. Caterpillar pellets, borer sawdust, and material inside leaf mines can all provide useful clues.
When is the best time to inspect plants?
Check at different times. Dawn, dusk, and damp nights reveal pests that hide during hot daylight.
Should I keep a damaged plant for diagnosis?
Yes. An intact plant with roots and surrounding soil is more useful than a detached leaf when the problem may involve roots or stems.
Can a plant have more than one problem?
Absolutely. Drought-stressed plants may also carry mites, and diseased tissue may attract secondary feeders. Identify the primary problem before assigning every symptom to one cause.
A garden does not speak in product names. It speaks in patterns. Learn the pattern, and the response becomes smaller, cleaner, and more likely to work.
Control hierarchy
- Confirm the affected plant, growth stage, and damaged tissue.
- Remove the immediate stress when possible: water correctly, improve airflow, exclude the pest, or remove badly infected material.
- Use physical and cultural controls before broad treatments.
- Protect beneficial insects and follow every pesticide label exactly when a labeled treatment is justified.
- Record the outcome and change next season’s timing, rotation, sanitation, or variety choice.