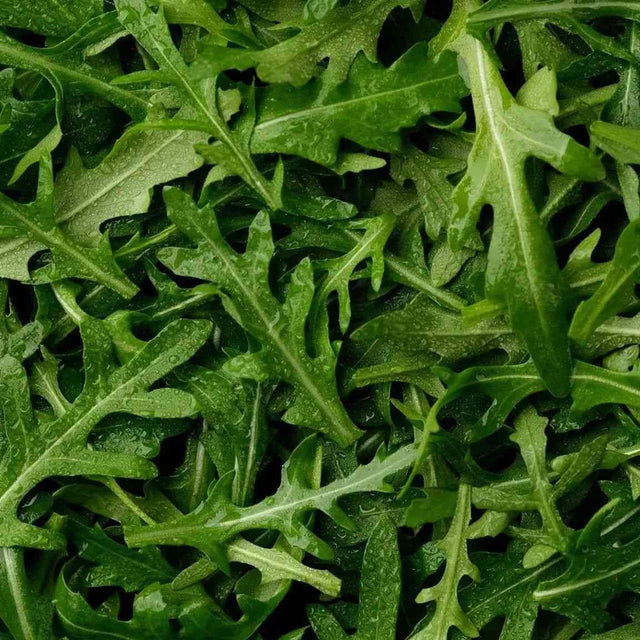
Hollyhocks are architecture before they are flowers. The first season may be a low rosette. The next may be a tower of bloom taller than the gardener who sowed it. That delay is not failure; it is the plant building the base that will carry the stem.
Their old-fashioned strength comes with an old enemy: rust. A hollyhock wedged into still, damp air may flower, but the lower leaves often tell the price.
A biennial schedule rewards gardeners who mark the crown and leave it undisturbed. Sow enough plants in more than one year if you want bloom every season.
Know what kind of hollyhock you are growing
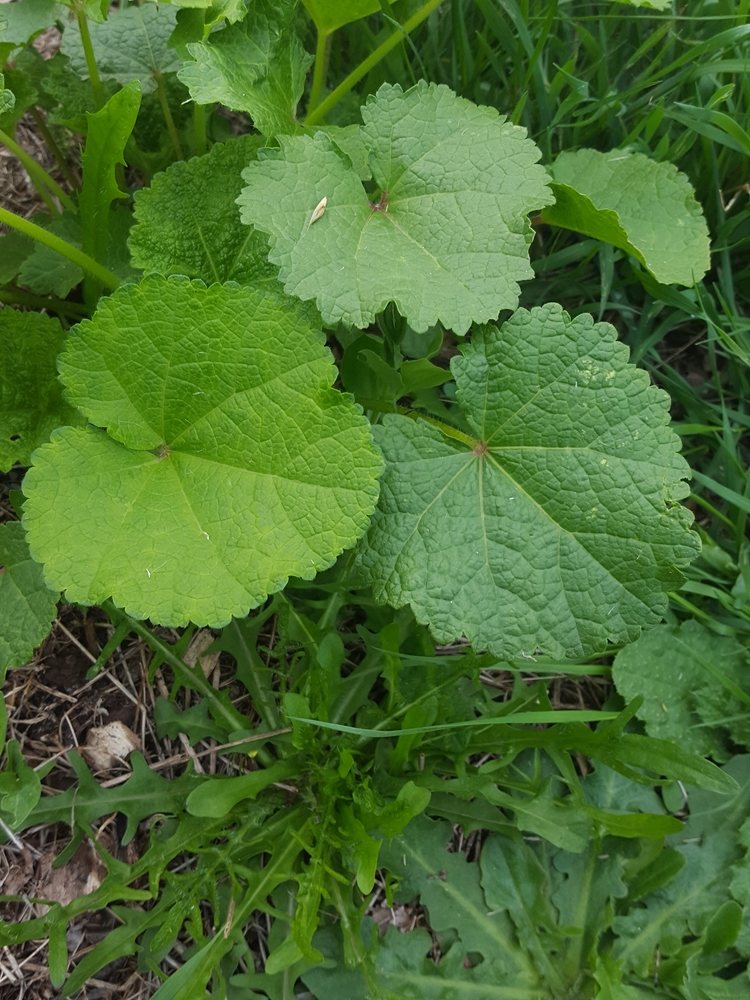
Hollyhocks are usually short-lived perennials or biennials. Many seedlings form leaves the first year, overwinter as crowns, and send tall flowering spikes the following season.
Some cultivars flower the first year when started early, but that should not be assumed for every seed lot.
- Single, semi-double, and double flower forms are available.
- Tall stems may need support.
- Plants often self-sow when seedpods mature.
Choose the form or variety for the job
Choose single or semi-double forms when pollinator access matters and tall double forms when the primary goal is a formal display.
In rust-prone gardens, open spacing and accessible cleanup matter more than placing plants tightly against a fence.
| Garden goal | Best fit | What to watch |
|---|---|---|
| Cottage-garden tower | Tall traditional cultivar | Stake and provide airflow |
| Pollinator planting | Single flower form | Leave some accessible open centers |
| First-year bloom goal | Cultivar selected for early flowering | Start very early and verify the strain |
| Continuous yearly bloom | Stagger sowings across years | Keep crowns labeled and protected |
Start seed at the right time and depth
Sow outdoors in late summer or fall where winters suit the plant, or start indoors in late winter to spring.
Press seed into the surface or cover lightly; consistent moisture is important until emergence.
- Use clean seed-starting mix.
- Transplant before roots become crowded.
- Space for mature width, not rosette size.
- Mark the planting so crowns are not dug up.
Build the site before the plant asks for rescue
Use full sun and well-drained soil with open air movement. Avoid low wet pockets and dense foundation plantings.
Tall spikes need a support that can withstand summer wind and thunderstorms.
- Stake before stems lean.
- Mulch lightly without burying crowns.
- Keep irrigation off the leaves when possible.
Manage water, fertility, and growth
Water deeply during establishment and drought, but do not keep the crown saturated. Feed modestly; rich soil can produce weak, floppy growth.
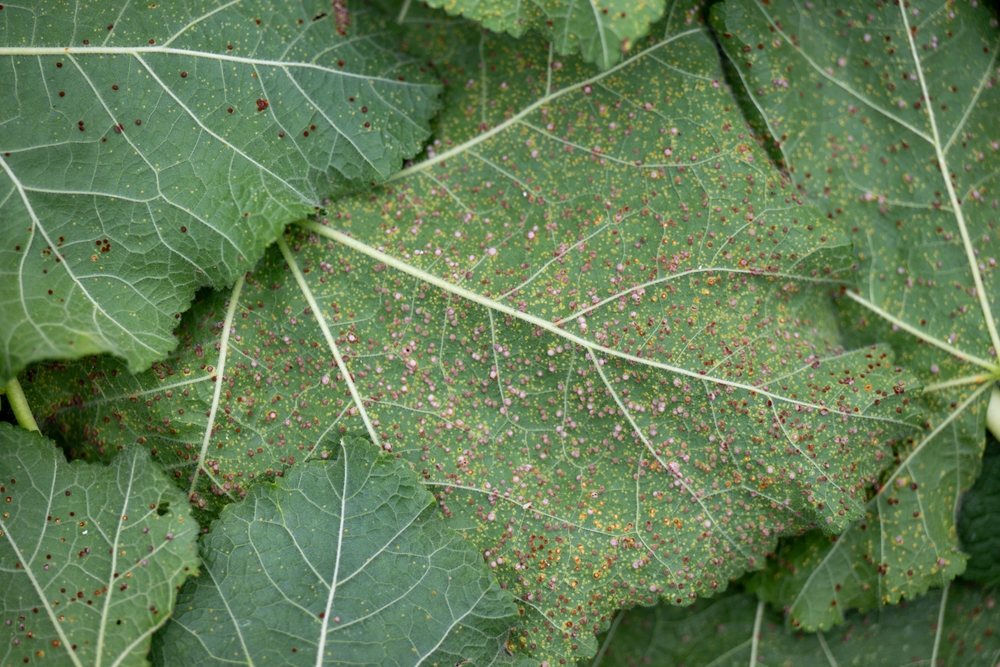
Remove badly rusted leaves as they appear and clean fallen debris.
- Disinfect tools when moving among diseased plants.
- Do not compost heavily rusted debris unless the process can manage it.
- Allow selected pods to mature only where self-sowing is welcome.
Harvest at the stage that matches the use
Flower spikes can be cut after bloom to reduce seed or left for seed collection. Allow seedpods to dry on healthy plants, then collect before they shatter.
Do not strip all foliage after flowering; the crown still needs leaves to rebuild.
Troubleshoot the common failures
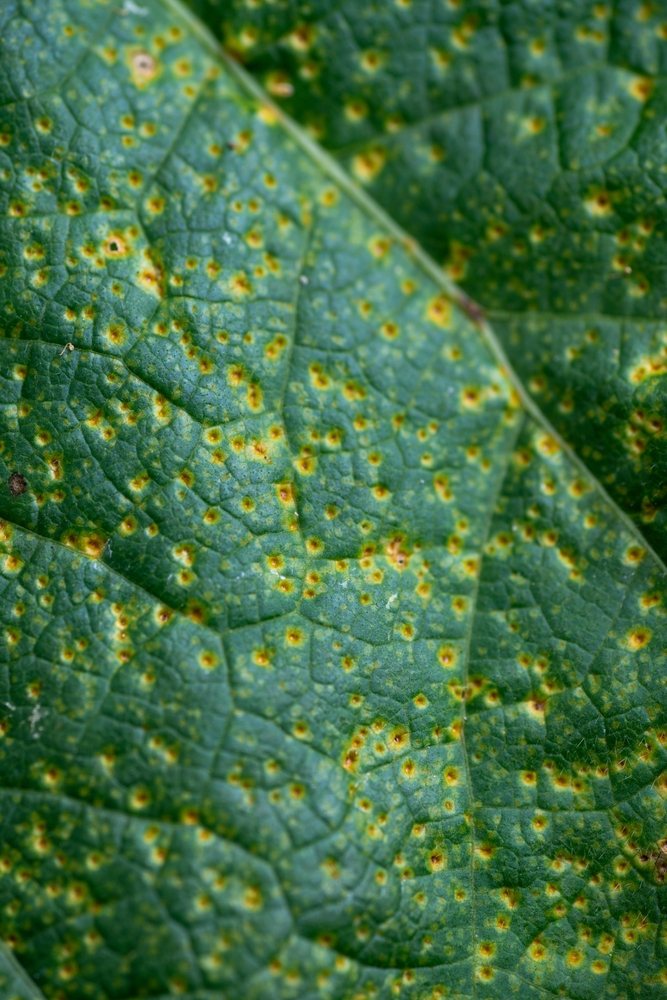
Rust causes yellow-orange spots on the upper leaf surface and orange-brown pustules beneath. Japanese beetles, leaf spots, and wind damage may also occur.
Rust rarely stays confined once sanitation is ignored.
| Symptom | Likely cause | First correction |
|---|---|---|
| Orange pustules under leaves | Hollyhock rust | Remove affected leaves and improve airflow |
| Tall stem bends | Wind or weak support | Stake early and reduce excess nitrogen |
| No first-year bloom | Normal biennial habit | Protect the crown for next year |
| Crown rots | Poor drainage or buried crown | Improve drainage and keep mulch back |
Adjust the plan across the Mid-Atlantic
In humid North Carolina and Virginia summers, rust pressure is often persistent. Give plants morning sun, broad spacing, and a site that can be cleaned easily.
Mountain winters may be suitable for crown survival, while hot Coastal Plain sites may shorten plant life.
Grow hollyhocks where their height can be enjoyed and their lower leaves can be inspected.
Put this guide to work in a real garden
Put How to Grow Hollyhocks from Seed: Biennial Timing, Rust, and Towering Stems into a one-season plan before buying more inputs. Choose the variety or material, mark the bed or container, write the sowing or planting date, and decide what success will look like: first harvest, stem length, fruit set, bloom, survival, or control of spread.
Inspect on a schedule. Early problems are usually easier to correct because the crop has more season left and the cause has not been buried under secondary damage. Water, fertility, airflow, support, and harvest timing should be adjusted from the plant’s response rather than from a rigid weekly ritual.
At the end of the crop, keep the record honest. Note what performed, what merely survived, what required too much labor, and what deserves a larger planting next year. Experience becomes expertise only when it is remembered accurately.
- Choose the variety and define the intended use.
- Prepare soil, container, support, or irrigation before planting.
- Set a weekly inspection date.
- Harvest or prune at the stage described in the guide.
- Write a short end-of-season verdict.
Use a 30-day checkpoint instead of guesswork
Before planting
Choose the variety, site, support, soil preparation, and irrigation method while the bed is still easy to change.
First two weeks
Protect establishment. Watch moisture, light, wind, transplant shock, and early pest pressure.
At rapid growth
Adjust spacing, support, pruning, and fertility before the plant becomes difficult to handle.
At first harvest or bloom
Record quality, timing, labor, and the plant’s response. Use that evidence to guide the rest of the season.
A guide provides a sound starting system, not a guarantee. Cultivar, weather, soil history, and management interact, and the correct response may change as the plant moves from establishment to harvest.
Keep a one-season record
The record does not need to be elaborate. A notebook page, spreadsheet row, or labeled photograph is enough when it captures the variables that matter.
- Variety and source
- Planting date and location
- Water, fertility, and major weather events
- First harvest or bloom and total season length
- Problems, corrections, and next-year decision
Write enough that another grower—or you, one year later—could understand what was planted, what happened, and why the next decision changed.
Questions gardeners ask
Do hollyhocks bloom the first year?
Many do not. Traditional types often form a rosette the first year and flower the second.
What causes orange spots on hollyhock leaves?
Hollyhock rust commonly causes yellow spots above and orange-brown pustules below.
Should hollyhocks be staked?
Tall flowering stems often benefit from staking in exposed sites.
Can hollyhocks self-seed?
Yes. Let selected pods mature where volunteers are welcome and remove others before seed drops.
Are hollyhocks perennial?
They are often described as biennial or short-lived perennial, depending on cultivar and climate.
A hollyhock asks for two things gardeners are often short of: room and patience. Give it both, and the second-year stem rises like it remembers every week you waited.