Seeds do not fail for mysterious reasons. They fail in an order. Moisture, temperature, oxygen, depth, dormancy, seed condition, and disease each leave clues. The trouble begins when every clue is treated at once and the gardener no longer knows which correction mattered.
A tray that has not emerged is not automatically bad seed. A seed lot that once germinated well is not automatically innocent. Diagnosis is the discipline of keeping both possibilities open until the evidence narrows them.
This guide is built for vegetable, herb, flower, and native seed. It separates slow germination from failed germination, seed-lot problems from environmental problems, and pre-emergence rot from damping-off after a seedling appears.
- Time: Is the crop actually late?
- Moisture and oxygen: Was the medium evenly damp rather than dry or saturated?
- Temperature: Was the seed kept in a range suitable for that crop?
- Placement: Was it sown at the right depth, with light if required?
- Biology: Does it need stratification, scarification, or another dormancy treatment?
- Seed and disease: Is the seed viable, or did rot and damping-off intervene?
Decide whether the seed is actually late
Begin with the normal range for the species and the conditions actually provided. Some crops emerge in days under suitable warmth. Others take weeks. Native perennials may require a season of cold, moisture, or weathering before they are prepared to germinate.
The phrase “nothing happened” often means “nothing happened on the schedule I expected.” That is a planning problem, not yet a seed problem.
| Question | Why it matters | What to record |
|---|---|---|
| How many days since sowing? | Germination ranges differ by crop and temperature | Sowing date and first expected window |
| Did any seed emerge? | Uneven emergence suggests placement or moisture variation | Number emerged and where in the tray or row |
| Were conditions measured? | A room thermostat does not equal medium temperature | Soil or medium temperature at seed depth |
| Was the same lot tested elsewhere? | Separates environmental failure from lot-wide failure | Parallel test result and method |
| Does the species have dormancy? | Some seeds are not ready after ordinary warm sowing | Required treatment and start date |
Repeated excavation damages germinating seed and changes moisture. Inspect a small labeled sample rather than dismantling the whole sowing.
Read moisture and oxygen together
A germinating seed needs water and oxygen. Too little moisture stops the metabolic process. Too much water fills the air spaces around the seed and encourages decay. “Keep moist” does not mean “keep submerged.”
Small cells dry quickly at the edges. Heavy garden soil in a container may stay saturated at the center. A dome can slow evaporation but also hold excessive humidity after emergence. The correct system depends on container size, medium, airflow, and crop.
| Observation | Likely issue | Correction |
|---|---|---|
| Surface repeatedly turns pale and crusted | Seed zone may be drying between waterings | Pre-moisten medium and water gently enough to keep the sowing zone even |
| Medium smells sour or remains glossy wet | Low oxygen and excessive water | Improve drainage and airflow; allow the medium to approach evenly moist |
| Edges emerge but center does not | Center may be colder or wetter | Check tray level, watering pattern, and heat distribution |
| Center emerges but edges fail | Edges may dry or overheat | Shield from drafts and check perimeter moisture more often |
| Outdoor row seals after hard rain | Crusting may trap small seedlings | Use finer preparation, light surface protection, and timely resowing if needed |
Use clean trays and a porous medium from the seed-starting supplies collection when container sowing is appropriate. The goal is not sterility for its own sake. It is a root zone that drains, breathes, and holds moisture without becoming mud.
Match root-zone temperature to the crop
Temperature controls the speed of germination and can decide whether a seed germinates at all. Warm-season crops such as peppers, eggplant, okra, and some flowers usually need more warmth than lettuce, spinach, peas, or brassicas.
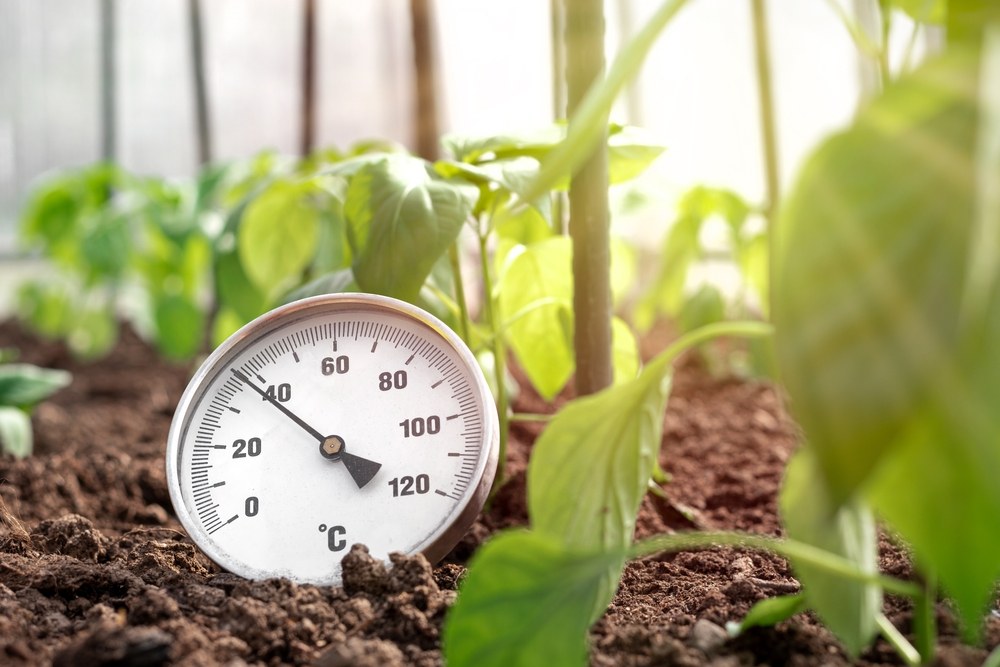
Measure the medium, not the air several feet away. A tray on a cold windowsill can remain far cooler than the room. A heat mat without a thermostat can make the root zone hotter than expected.
| Pattern | What may be happening | Next step |
|---|---|---|
| Warm-season crop is slow in a cool room | Metabolism is too slow; rot risk may rise | Move to a controlled warmer root zone appropriate for the crop |
| Cool-season crop is sown in summer heat | High temperature may delay or reduce germination | Use shade, cooler timing, or a cooler germination location |
| Tray emerges unevenly across one side | Heat source or sun exposure is uneven | Rotate or correct the source rather than watering the slow side more |
| Seed germinates, then seedlings stretch | Light is inadequate after emergence | Move promptly under suitable light; heat alone is no longer the priority |
A thermometer is cheaper than repeated seed. Use it long enough to understand the pattern: morning low, afternoon high, and whether the root zone changes sharply when lights or mats switch.
Correct sowing depth and light exposure
Sowing too deeply forces a small seed to spend limited reserves reaching the surface. Sowing too shallowly can expose a larger seed to drying. Some seeds germinate best with light and should be pressed onto the surface or barely covered. Others require darkness or firm contact with the medium.
The common rule of covering seed by roughly two to three times its thickness is only a starting principle. Follow crop-specific directions when the seed is extremely fine, light-sensitive, or naturally falls into surface litter.
Do not bury delicacy under enthusiasm.
Respect dormancy instead of calling it failure
Dormancy is not poor quality. It is a survival strategy. Many native flowers, shrubs, trees, and some herbs delay germination until seasonal conditions signal that emergence is safer.
| Treatment | What it imitates or changes | Main risk |
|---|---|---|
| Cold-moist stratification | A moist winter period | Seed dries during treatment or is left warm enough to mold |
| Scarification | Wear or damage to a hard seed coat | Cutting too deeply and injuring the embryo |
| Warm-cold sequence | Changing seasons required by some species | Skipping a stage or ending it too soon |
| Fall sowing outdoors | Natural weathering and seasonal exposure | Lost labels, animal disturbance, weeds, or poor drainage |
| Fresh sowing | Seeds that lose viability in storage or have short dormancy | Assuming all seed benefits from long dry storage |
Use the botanical name. Common names can conceal different species with different requirements. The native seed collection includes plants whose germination may not resemble a tomato or bean. Read the species instructions before treating patience as failure.
Test seed age, storage, and lot quality
Seed age matters, but storage history matters more than the calendar alone. Cool, dry, stable storage generally preserves seed better than repeated cycles of heat and humidity. A packet kept in a hot vehicle can decline faster than an older packet stored well.
Run a simple germination test when the lot is in doubt. Count a known number of seeds, place them under conditions appropriate for the crop, keep the method labeled, and record how many produce normal seedlings. Ten seeds are quick but coarse; larger samples give a more useful percentage.
- Record the lot or source and the test date.
- Use a known seed count.
- Provide the crop’s reasonable moisture and temperature.
- Count normal seedlings, not merely cracked seed coats.
- Repeat or enlarge the test when the result will drive an important decision.
If a lot tests well in controlled conditions but fails in the garden, investigate the seedbed. If it fails repeatedly across sound methods, the lot deserves scrutiny.
Separate pre-emergence rot from damping-off
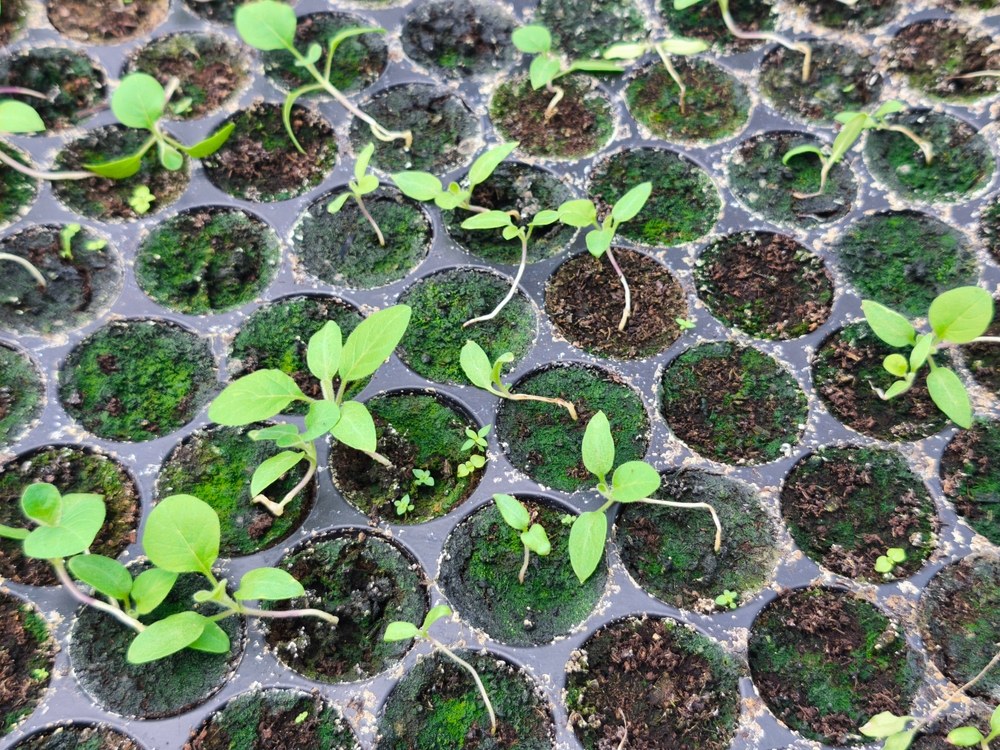
Pre-emergence rot happens before a seedling is visible. Damping-off usually refers to young seedlings that collapse, rot at the soil line, or fail shortly after emergence because disease organisms and favorable conditions meet.
| Symptom | Likely interpretation | Response |
|---|---|---|
| Seed is soft, dark, and decayed before emergence | Pre-emergence rot or dead seed in wet conditions | Reduce saturation, improve medium and temperature, and retest the lot |
| Seedling stem narrows and falls at soil line | Damping-off is likely | Remove affected plants, improve airflow and sanitation, and avoid overwatering |
| Seedling stands but leaves are pale and stretched | Insufficient light, not damping-off | Increase appropriate light and reduce excess warmth after emergence |
| Only one tray section fails | Localized watering, temperature, contamination, or compaction | Compare that zone with the successful section |
| Outdoor seedlings disappear overnight | Animals, slugs, cutworms, or crusting may be involved | Inspect at night and check the soil surface before blaming germination |
Clean containers, clean tools, good airflow, appropriate temperature, and careful watering reduce risk. Fungicide is not a substitute for correcting the environment that encouraged the disease.
Use a seven-day rescue plan
When a sowing is late, use seven days deliberately rather than making seven random changes.
- Day 1: Confirm the crop, sowing date, normal range, and any dormancy requirement.
- Day 2: Measure root-zone temperature and inspect moisture at depth.
- Day 3: Open a small sample to check depth, swelling, and decay.
- Day 4: Correct one major condition—temperature, drainage, or moisture consistency.
- Day 5: Start a labeled parallel test with the same lot.
- Day 6: Prepare replacement seed or a second variety if the season is closing.
- Day 7: Decide from evidence whether to wait, resow, or quarantine the lot for further testing.
A familiar seed-room mistake is to move a tray, water it heavily, add heat, uncover it, and sow a second tray all on the same morning. If one works, nothing has been learned. Make one major correction at a time whenever the season allows.
Diagnosis should not consume the entire planting window. Preserve a sample for testing and resow with sound seed when delay threatens the crop.
Frequently asked questions
How long should I wait for seeds to germinate?
Use the crop-specific germination range and the actual temperature provided. Some vegetables emerge quickly; peppers and many herbs take longer; dormant native seeds may require seasonal treatment.
Can too much water stop germination?
Yes. Saturated medium can reduce oxygen and encourage decay. Keep the seed zone evenly moist, not waterlogged.
Why did seeds germinate on one side of the tray?
Uneven heat, moisture, light, airflow, tray level, or medium depth may be responsible. Compare the successful and failed zones before changing the whole tray.
Does floating seed mean it is dead?
Not reliably. Float tests can misclassify seed because coat structure and trapped air differ. A controlled germination test is more useful.
Should I use a heat mat for every seed?
No. Use heat according to the crop. Cool-season crops may germinate poorly when kept too warm, and heat after emergence can worsen stretching if light is inadequate.
How do I know whether the seed lot is bad?
Test a known sample under suitable conditions, repeat when the decision is important, and compare with another lot or method. One failed garden row does not prove a lot is bad; repeated controlled failure is stronger evidence.
Good germination is not luck made visible. It is biology given the right conditions—and records kept when it is not.