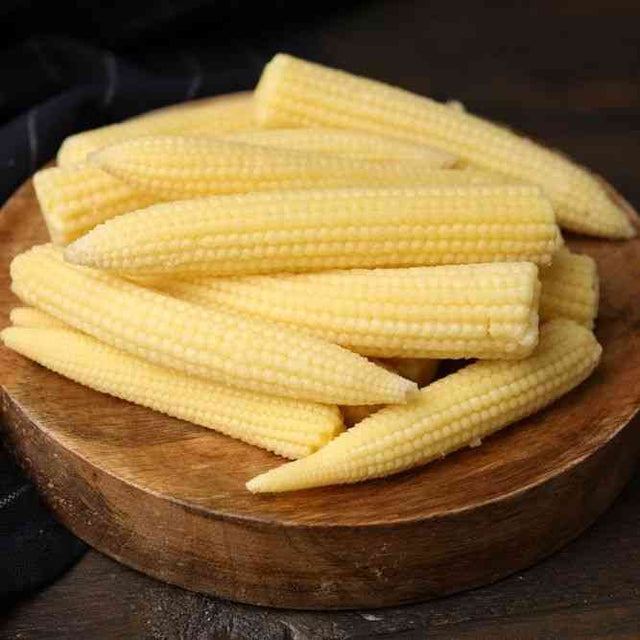
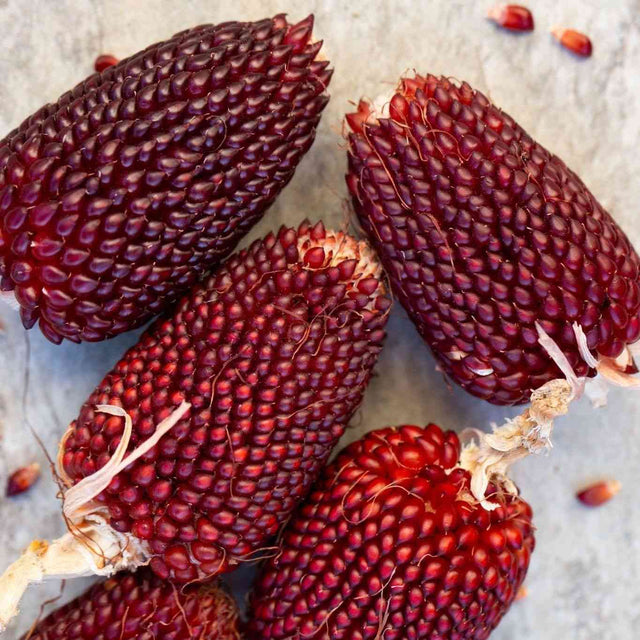
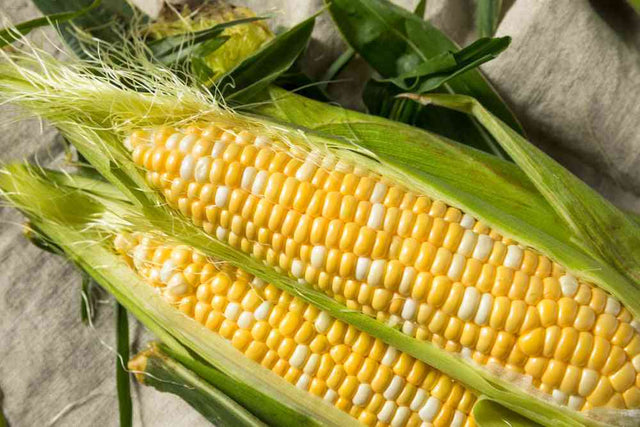
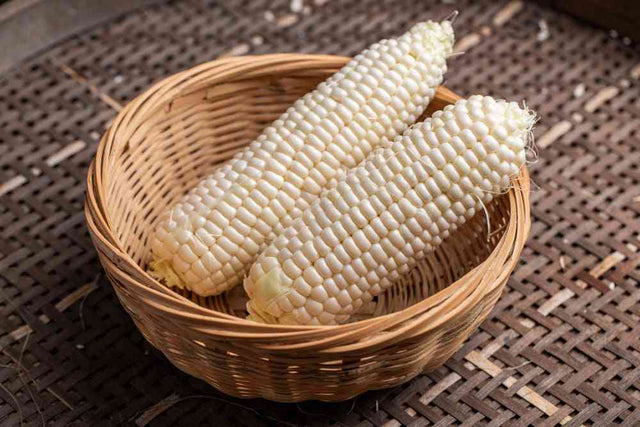
Corn does not have one universal harvest date. A tender sweet-corn ear, a roasting ear, a flour-corn ear for grinding, a popcorn ear, and an ear selected for seed are all harvested at different stages. The most common mistake is waiting for the plant to look "finished" without first deciding what the ear is supposed to become.
For fresh eating, you are watching silk color, kernel fullness, and the liquid inside the kernel. For dry grain, popcorn, and seed, you are waiting for physiological maturity and then enough drying to make the kernels hard and stable. Days to maturity help you know when to begin checking, but the ear itself makes the final decision.
As a Tuscarora- and Nottoway-led seed company, we treat harvest as more than the moment an ear leaves the stalk. Harvest includes knowing the intended use, protecting the variety, keeping records, drying correctly, and refusing to call damaged or moldy grain "saved" simply because it was picked.
The quick answer by corn type
Start by naming the use. A single planting can pass through several edible stages, but each stage gives a different texture, sugar level, starch structure, and storage life.
| Intended use | What the ear should look like | Kernel test | Typical timing after silking | Harvest goal |
|---|---|---|---|---|
| Sweet corn | Green husk, brown drying silks, plump ear | Punctured kernel releases milky liquid | Often 18 to 24 days | Tender kernels with the best balance of sugar and texture |
| Roasting or green-grain ear | Kernels fuller and starchier than milk-stage sweet corn | Kernel contents are thick, creamy, or soft-dough rather than watery | Usually after milk stage and before full dry-down | A firmer ear for roasting, boiling, or variety-specific green-corn use |
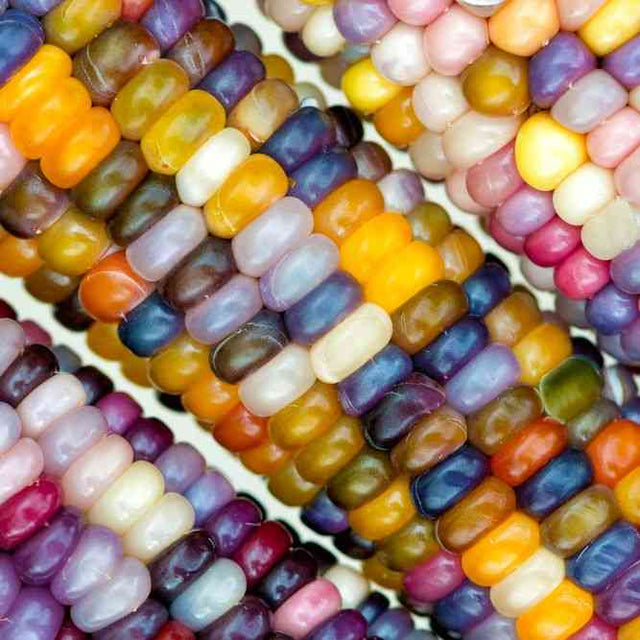
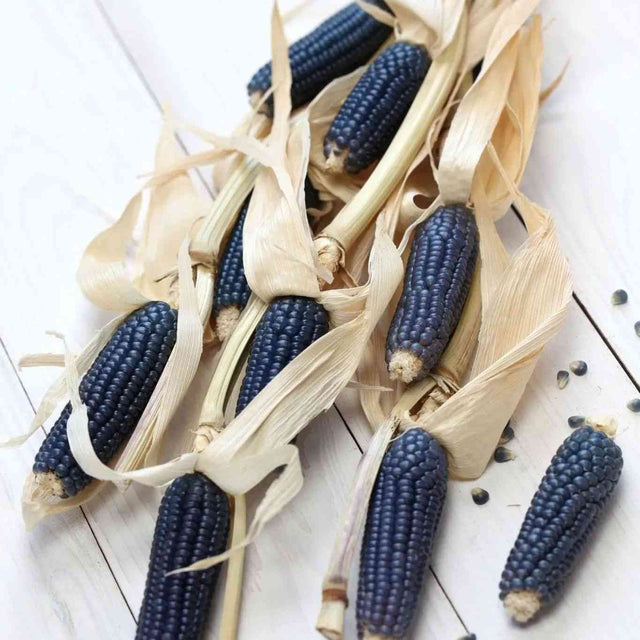
| Flour corn | Husks tan to brown, kernels fully colored and hard | Kernel resists a fingernail; cob and ear feel light as moisture leaves | Often 45 to 60 days or more | Dry grain for milling, parching, or further processing |
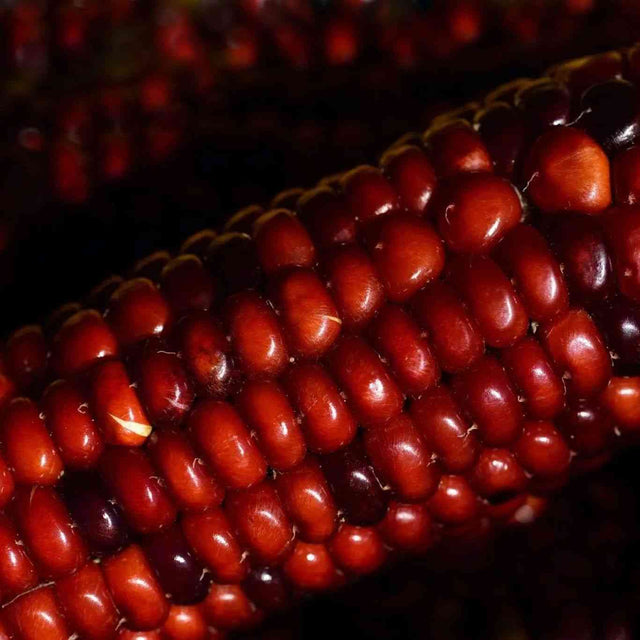
| Dent corn | Most kernels show the variety's mature shape; many develop a crown dent | Kernel hard; milk line gone; black layer formed at physiological maturity | Usually 55 to 65 days to physiological maturity, then additional drying | Dry grain for meal, grits, hominy, feed, or seed |
| Flint corn | Hard, glossy outer endosperm; mature color fully developed | Kernel is hard and cannot be dented with a fingernail | Often 45 to 60 days or more | Dry grain with strong storage and distinct cooking qualities |
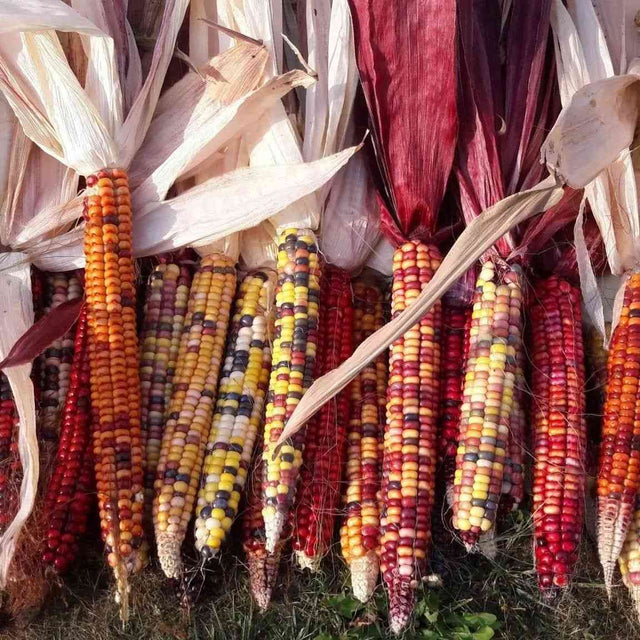
| Popcorn | Dry husks, hard shiny kernels, ears light in the hand | A 20-kernel sample pops crisp and fluffy | Usually 90 to 120 days from planting, depending on variety | Kernels near 13 to 14 percent moisture for good popping |
| Seed corn | Selected ears from healthy, true-to-type plants; husks dry | Kernels fully hard, dry, and free of mold or insect damage | After full physiological maturity and complete postharvest drying | High-germination seed that represents a population, not one ear |
Read the kernel, not only the calendar
Corn development after pollination is commonly described as reproductive stages. These stages are useful because they explain what is happening inside the kernel, not just what the plant looks like from the path.
R1: silking and fertilization
R1 begins when silks are visible. Each silk connects to one potential kernel. Pollen must reach the silk, germinate, and grow down the silk to fertilize that ovule. A blank place on the cob usually represents a silk that was not successfully fertilized or a very young kernel that later aborted.
R2: blister stage
Roughly 10 to 14 days after silking, kernels look pale and blister-like. They contain clear fluid and are far too immature for dry-grain harvest.
R3: milk stage
About three weeks after pollination, kernel contents become milky. This is the key harvest window for many sweet corns. The exact day shifts with genetics, temperature, water, and planting date.
R4: dough stage
About 24 to 28 days after silking, the milky interior thickens into soft dough as starch accumulates. Some corns are eaten at this stage for a firmer, starchier green ear. This is not yet dry grain.
R5: dent stage
Many dent corns begin showing an indentation at the crown. The milk line moves down the kernel as liquid endosperm becomes solid starch. At the beginning of dent stage, kernels can still hold roughly 55 percent moisture, so an ear that looks mature may still be far too wet for storage.
R6: physiological maturity
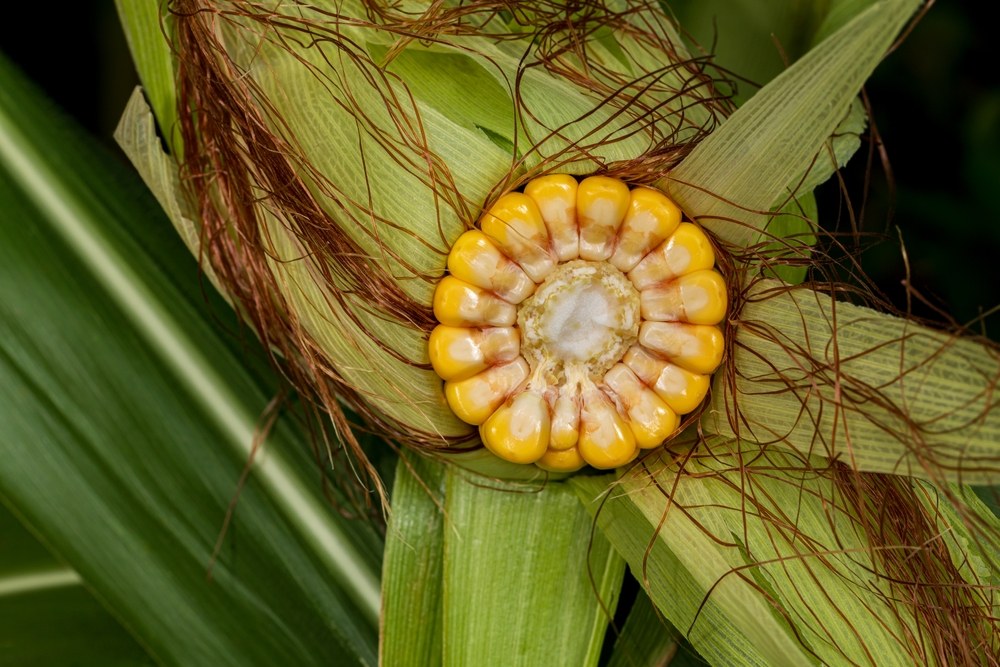
Physiological maturity occurs when the kernel has reached its maximum dry weight, commonly 55 to 65 days after silking. A black layer forms where the kernel attaches to the cob. This means the plant has finished adding dry matter. It does not mean the grain is dry enough to put in a sealed jar.
This distinction matters: physiological maturity ends grain filling; drying makes grain storable.
Turn maturity estimates into a local harvest calendar
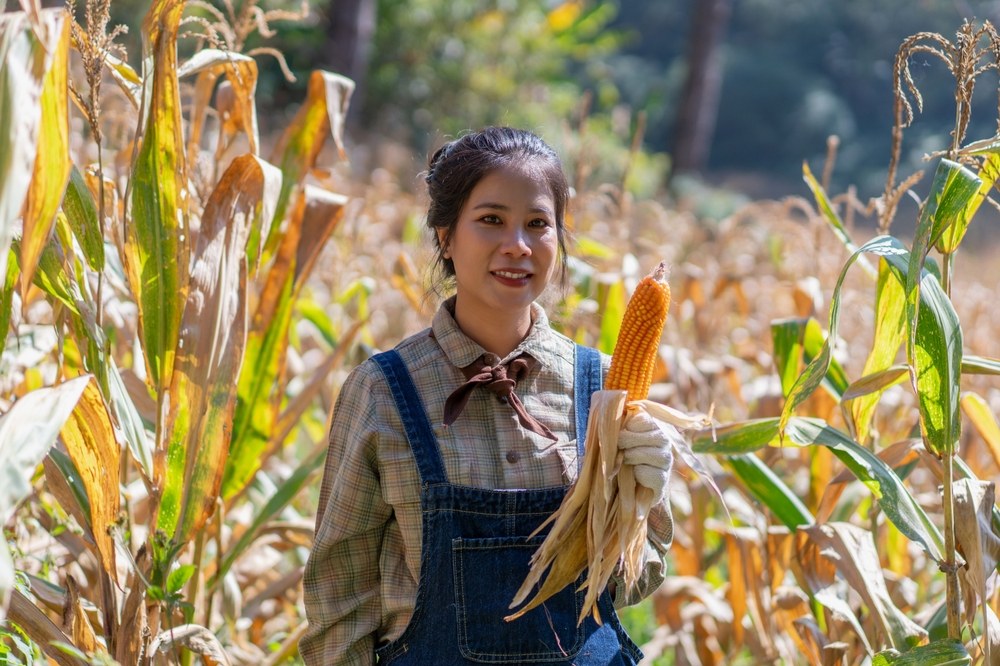
"Days to maturity" is an estimate measured under conditions that may not match your garden. Corn development is driven by temperature, moisture, genetics, planting date, soil fertility, and stress. A 90-day variety can reach silk on different dates in two plantings made only a few weeks apart.
Track five dates
- Planting date: useful for comparing plantings, but not enough by itself.
- Emergence date: cool soil can delay emergence and make the printed maturity number misleading.
- First tassel date: signals the beginning of the pollination period.
- First silk date: the most useful date for estimating kernel stage.
- First acceptable harvest date: creates a local record for that variety and use.
For sweet corn, begin checking roughly 16 days after first silking rather than waiting until day 24 and discovering the best window has passed. For dry grain, inspect around 40 days after silking, then follow kernel development toward black layer and complete dry-down.
Sample across the block
The first edge plant to silk is not the whole crop. Edge plants receive more light and may mature earlier. Sample one ear from an early plant, one from the interior, and one from a later plant. Record the range. A home grower may harvest sweet corn across several days, while seed and dry-grain ears can be collected in maturity groups and dried separately.
Use heat and drought as warning signals
High temperatures can accelerate kernel development and shorten the sweet-corn window. Drought can delay silking, reduce ear fill, and produce ears that are small but already physiologically mature. Do not assume a small ear is immature. Cut kernels and examine the milk line or black layer.
Plan backward from frost
For dry corn, compare the variety's expected full maturity with your average first frost, then allow additional field or sheltered drying time. A variety that reaches milk stage before frost may still fail as seed. In short-season areas, choose earlier flour, flint, dent, or popcorn varieties and keep a sheltered drying plan ready.
When sweet corn is ready
Sweet corn can move from under-ripe to perfect to over-mature in only a few days, especially in hot weather. Begin checking when the silks turn brown and dry at the tip. Do not wait for the whole plant to become brown. A sweet-corn plant can still be green when the ears are ready.
Use four checks together
- Silks: Most silks have turned brown and feel dry, but the husk remains green.
- Ear shape: The ear feels filled to the tip or nearly filled, depending on the variety. A narrow tip can also reflect incomplete pollination, so do not judge by shape alone.
- Kernel fullness: Pull the husk back only enough to inspect a few kernels. They should look plump, not shrunken or glassy.
- Thumbnail test: Puncture a middle kernel. Clear watery liquid means the ear is early. Milky liquid usually marks the best fresh-eating stage. Thick paste or dough means the ear is becoming starchier.
Check a middle kernel rather than only the tip. Tip kernels are fertilized later and may lag behind the base. If earworms are common, inspect below the damaged tip before deciding the whole ear is unusable.
Why the harvest window changes
Hot weather speeds development and sugar conversion. Traditional sugary corn can lose sweetness quickly after harvest, while sugary-enhanced and supersweet genetics may hold sugar longer. Cool mornings, prompt harvest, shade, and rapid chilling preserve eating quality. A calendar date cannot account for all of these differences.
Harvest timing for a succession planting
Walk the planting every day once the first ears reach milk stage. Mark the first harvest date by variety and planting date. Later plantings of the same variety often mature faster because they develop under warmer conditions. A simple field record will quickly become more useful than the catalog's general maturity estimate.
Roasting ears and dough-stage corn
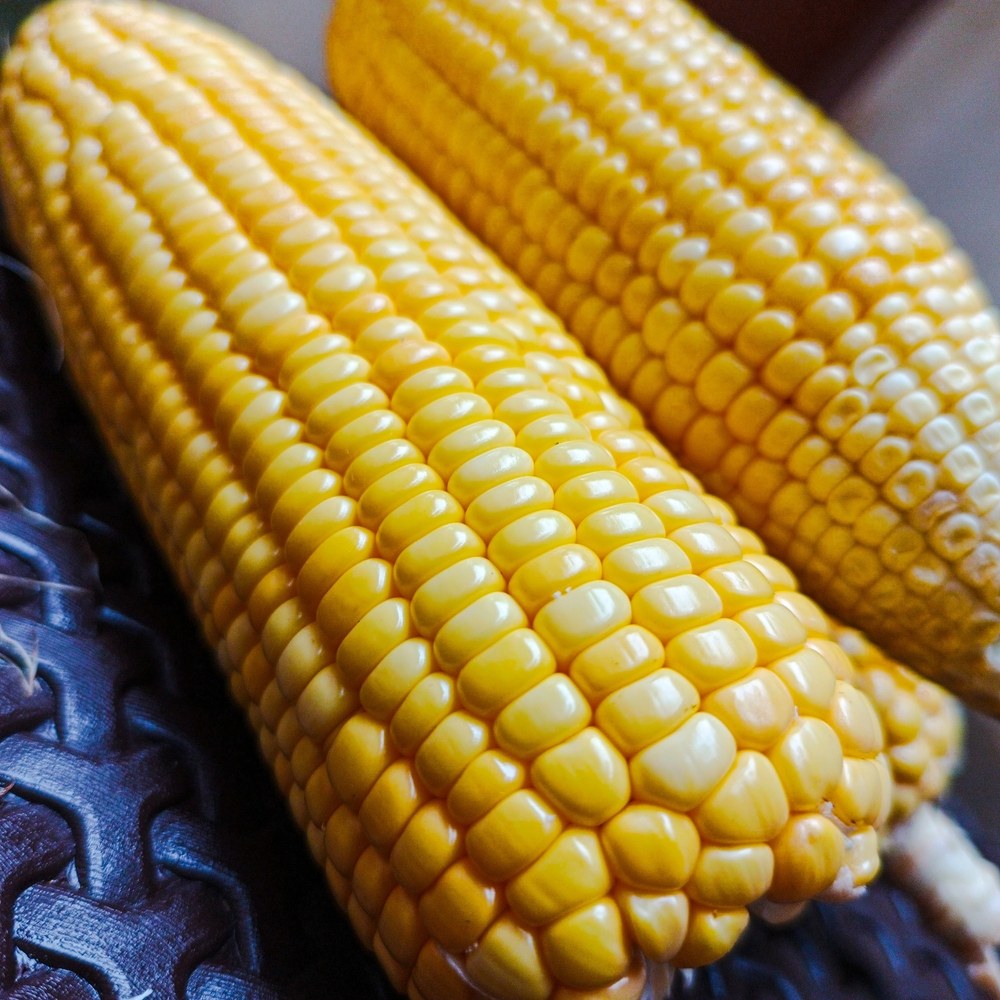
"Roasting ear" can describe different harvest stages in different families and regions. In practical crop terms, it often means an ear allowed to develop beyond the tender milk stage but harvested before the grain becomes fully dry. Kernels may be thicker, starchier, and more substantial, with liquid changing from milk to soft dough.
This stage is especially important for varieties not bred as modern sweet corn. A flour, flint, or dent variety may be unpleasantly soft and bland when very young, then excellent at a later green-corn stage, and finally useful again after complete drying. The right stage depends on the variety and the food being prepared.
How to test a roasting-stage ear
- Pull one representative ear, not the smallest or largest ear in the block.
- Cook it using the method you actually plan to use.
- Record silk date, harvest date, texture, sweetness, skin toughness, and starchiness.
- Repeat in two or three days if it is still too watery or tender.
Do not publish or repeat a universal "roasting ear" date for every corn. Test the named variety and document the stage that produces the desired food.
When flour, dent, and flint corn are ready
Dry-grain corn should reach physiological maturity before harvest whenever the season allows. For many flint and dent corns, Extension guidance places harvest roughly 45 to 60 days after silking, but weather, day length, variety maturity, and stress can extend or shorten that interval.
Signs the grain has reached maturity
- Husks have changed from green to tan or brown.
- Kernels show the full mature color expected for the variety.
- Kernels are hard and resist a fingernail.
- The ear feels lighter because moisture has left.
- Dent types show mature denting; flint types remain hard and rounded or pointed according to the variety.
- A black layer is visible at the kernel base when a kernel is removed and examined.
Black layer confirms physiological maturity, not final storage moisture. Grain can still contain around 30 percent moisture at physiological maturity. Leave it in the field to dry when weather is dry and ears are protected, or harvest and finish drying under cover with strong airflow.
Flour corn needs gentle handling
Flour corn has softer endosperm and can crack or absorb moisture more readily than hard flint. Harvest before prolonged wet weather if ears are mature. Dry ears in a single layer or on racks, keep them away from condensation, and shell only after kernels are fully hard.
Dent corn and the milk line
In dent corn, the milk line moves from the crown toward the kernel tip as starch solidifies. When the milk line disappears and black layer forms, grain filling is complete. This is a good biological maturity marker, but the ear may still need weeks of drying before long-term storage.
Flint corn and mature hardness
Flint kernels often look finished before they are dry because the outer endosperm becomes hard and glossy. Break or cut a sample kernel. A fully mature kernel should be hard through the center rather than hard outside and soft inside.
When popcorn is ready
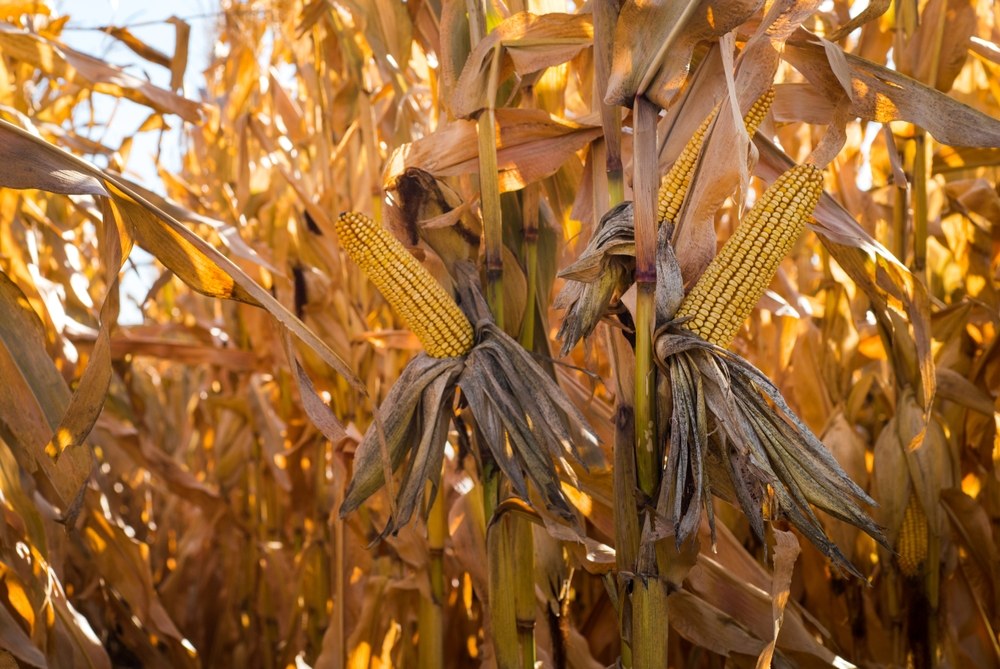
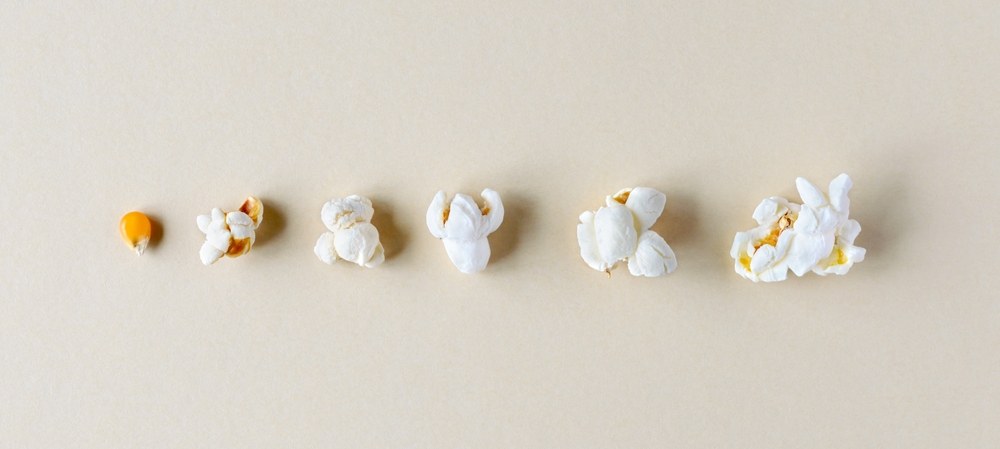
Popcorn needs two things: full kernel maturity and the correct moisture balance. Leave ears on the stalk as long as possible so kernels can dry naturally. Mature ears have dry husks and plump, hard, shiny kernels.
If rainy weather threatens, harvest mature ears and bring them under cover. Remove husks and place ears in mesh bags or on open racks in a warm, well-ventilated place. Do not seal the kernels in jars while they are still drying.
Use the 20-kernel pop test
- Shell a small sample.
- Count about 20 kernels.
- Pop them using the same method each time.
- Record how many pop and whether the flakes are crisp, fluffy, chewy, or hard-edged.
- Repeat weekly while the remaining ears continue drying.
Popcorn performs best around 13 to 14 percent kernel moisture. If it is too wet, popped kernels can be chewy and dense. If it becomes too dry, expansion can decline because there is not enough internal water to create the steam pressure that bursts the hull.
When corn is ready for seed saving
Seed ears must mature beyond the stage used for fresh eating. Sweet corn harvested for seed is no longer sweet-corn produce. It remains on the plant until husks are brown and kernels are hard. Organic Seed Alliance notes that sweet-corn seed is generally ready around 40 days after silking, then requires drying with strong circulation until the kernel cannot be dented with a fingernail.
Harvest seed ears from plants selected through the entire season. Do not wait until harvest and simply choose the prettiest ears. A large ear from a weak, late, diseased, lodged, or off-type plant can carry traits you did not intend to keep.
A seed ear should pass these checks
- The plant matched the variety's expected height, maturity, ear placement, and plant habit.
- The plant remained reasonably healthy and stood well under local conditions.
- The ear was pollinated within the intended population or controlled by hand.
- The ear reached full physiological maturity.
- Kernels are hard, undamaged, and free of visible mold.
- The ear is labeled so its population, year, location, and selection notes are not lost.
Seed saving is covered in depth in our companion guide, but the harvest principle is simple: mature first, dry completely, and keep the identity attached to the ear.
Harvest before storms, frost, animals, or mold
The ideal harvest date is sometimes replaced by the safest available date. A hurricane, prolonged rain, early frost, raccoon pressure, bird damage, or ear rot can make leaving mature ears in the field riskier than bringing them inside.
Harvest early when:
- Husks are mature but a multi-day wet period is approaching.
- Ears are beginning to mold or insects are opening pathways for mold.
- Stalks are lodging and ears are touching wet soil.
- Animals are removing a meaningful share of the crop.
- A hard freeze is expected before a late-maturing seed crop can dry.
Early harvest does not mean sealing wet ears in containers. Move them immediately to screens, racks, braids, or mesh bags with airflow. Wet, warm corn can lose quality quickly. One day of warm, wet holding can use a large share of the grain's safe storage life.
Frost and immature grain
Frost before black layer can stop grain filling. The seed may be light, shriveled, low in vigor, or difficult to store. Keep frost-damaged ears separate and run a germination test before using them as seed.
Animal damage
Do not confuse a chewed tip with a failed crop. Trim damaged tissue, inspect the remaining kernels, and decide whether the ear is suitable for immediate food, drying, or neither. Seed ears should be held to a higher standard because insect and animal wounds increase mold risk.
A practical harvest workflow
- Write the intended use on the field record. Sweet eating, roasting, flour, hominy, popcorn, feed, seed, or trial evaluation.
- Record first silk date. This gives you a better starting point than planting date alone.
- Begin sampling before the expected window. Pull one representative ear and inspect the middle kernels.
- Separate harvest lots. Keep varieties, pollination groups, and seed selections distinct.
- Shade fresh sweet corn immediately. Cool it quickly if it will not be cooked at once.
- Move dry-grain ears to airflow. Never pile damp ears in a deep tote or closed bin.
- Photograph and document representative ears. Record ear length, kernel rows, color, fill, disease, insect injury, and maturity.
- Recheck before shelling or sealing. Hard kernels and dry husks are not enough if the cob core is still damp.
A useful harvest record includes variety, lot, planting date, silk date, first harvest date, final harvest date, weather, intended use, number of selected seed plants, and any contamination concerns.
Measure the harvest so the next season improves
A harvest record should help you decide whether to grow the variety again, how much seed to plant, and whether the crop was harvested at the right stage. Do not record only total ears.
For sweet corn, record:
- Marketable ears per plant.
- Days from first silk to first acceptable harvest.
- Length of the usable harvest window.
- Tip fill, earworm damage, sweetness, skin tenderness, and holding quality.
- How quickly quality declined after harvest.
For dry grain, record:
- Number and weight of ears at harvest.
- Shelled grain weight after drying.
- Moisture at weighing.
- Percentage lost to mold, insects, poor fill, or off-types.
- Milling yield and the texture of meal, grits, or flour.
For seed, record:
- Plants at flowering.
- Selected maternal ears.
- Isolation or controlled-pollination method.
- Dry seed weight.
- Germination, abnormal seedlings, and vigor.
Use the same units each year. A beautiful harvest photograph cannot tell you whether a block produced enough sound seed or whether half the ears were discarded after drying.
Handle each harvest according to its use
The harvest decision is not complete until the ear enters the correct postharvest path. Mixing fresh ears, food grain, and seed corn in one workflow creates quality and labeling failures.
Fresh sweet corn
Harvest during the coolest part of the day, shade the ears immediately, and cool them quickly. Sugars begin converting to starch after harvest. Keep husks on during short-term refrigeration unless insect damage requires inspection. Process or eat older sugary varieties promptly.
Roasting or green-grain ears
Use or refrigerate them as fresh produce. They are not dry enough for room-temperature storage. If the texture is too firm for eating fresh, cut the kernels and cook them rather than placing half-dry ears in a pantry.
Dry food corn
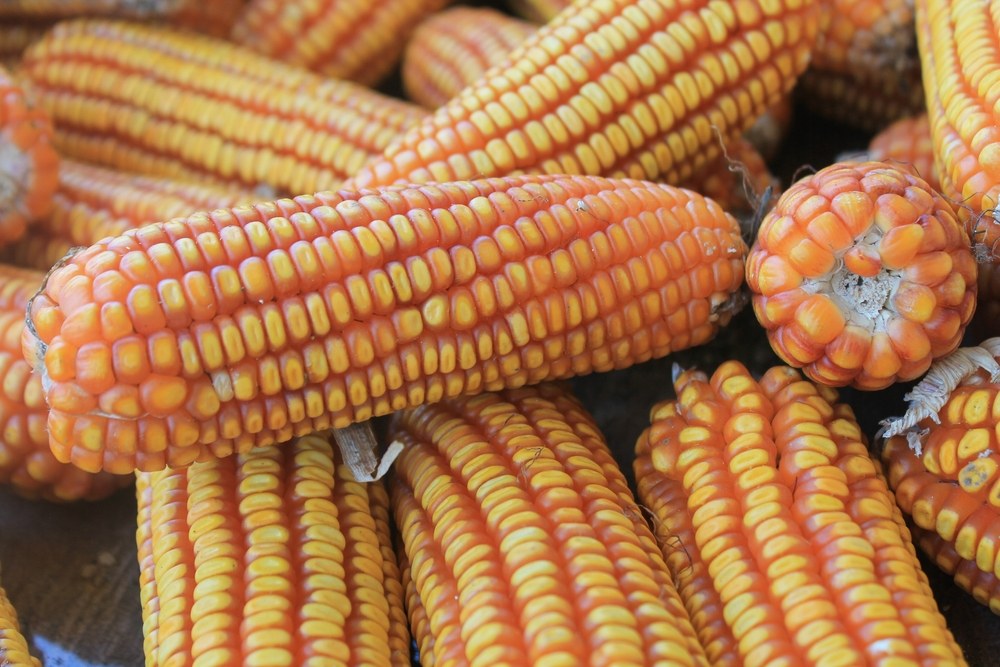
Move ears to ventilated racks, braids, mesh bags, or a corn crib. Keep food lots separate by variety and field. Do not shell until the cob and kernel are dry.
Popcorn
Dry the ears first, then shell a test sample. Keep the main lot on the cob or in a breathable container until popping quality is right. Once the moisture balance is correct, seal it to prevent further drying.
Seed corn
Keep selected ears separate from food. Preserve plant or maternal-ear labels until evaluation is complete. Do not cook, freeze, heat-dry, or fumigate seed without understanding the effect on germination.
Trial and catalog records
Photograph a representative group rather than one perfect ear. Include a ruler or scale, record the harvest stage, and note whether the image shows fresh, roasting, dry-grain, or seed maturity. That prevents a product page from using a visually beautiful but biologically misleading photograph.
Quality, mold, and food-safety checks
Drying stops further deterioration only when grain is brought to a safe moisture level and held cool and clean. It does not remove toxins already produced by certain molds. Mycotoxins can remain after drying, and warm wet holding can allow them to increase.
Reject or isolate ears with:
- Visible fuzzy mold or widespread discolored kernels.
- Sour, musty, or fermented odor when fermentation was not intended.
- Soft kernels beneath a dry-looking surface.
- Heavy insect damage, frass, or webbing.
- Water-soaked cob tissue or ears that remained against wet soil.
Do not taste suspect grain to decide whether it is safe. A home gardener with a questionable food or feed lot should separate it from sound grain and consult a local Extension office or qualified testing laboratory.
For seed, visible mold is also a vigor and disease concern. Discard compromised ears rather than trying to preserve every kernel.
What our own seasons taught us
Our early corn seasons taught us that growing the stalk is only one part of the work. Heat, distance, rain, limited irrigation, and missing drying infrastructure can erase months of care. Later, when we were able to grow on our own land, much of the corn had to be hand-pollinated because varieties were living in mixed spaces and we needed to protect identity.
The lesson was not that corn is impossible. The lesson was that corn requires a complete system: enough plants, synchronized pollination, harvest records, protected drying space, storage, and time. That is why we treat the harvest window as a stewardship decision rather than a single date printed in a catalog.
Frequently asked questions
How many days after silking is sweet corn ready?
Often about 18 to 24 days, but begin checking the kernels rather than harvesting by the calendar alone. Hot weather can shorten the window, and varieties differ.
How do I know whether sweet corn is overripe?
The kernel liquid becomes thick or doughy, skins become tougher, and the flavor becomes starchier. Overripe sweet corn can still be cooked, cut from the cob, dried, or used in recipes where tenderness is less important.
Can I harvest field corn while the plant is still green?
Yes, if the kernels have reached physiological maturity and weather risk makes field drying unsafe. The ears must then finish drying under cover with strong airflow.
Does black layer mean corn is dry enough to store?
No. Black layer means grain filling is complete. Kernel moisture can still be around 30 percent or higher, far above safe long-term storage moisture.
How do I know when popcorn is dry enough?
Pop a consistent sample of about 20 kernels each week. When most kernels pop crisp and fluffy, store the lot in airtight containers so it does not continue drying excessively.
Can I save seed from an ear picked for sweet corn?
No. Kernels harvested at milk stage are immature. Seed ears must remain on the plant until full physiological maturity and then dry completely.
Should I harvest corn before a hurricane or long rain?
If the ears are physiologically mature, bringing them under cover before prolonged wet weather can protect quality. Move them immediately to ventilated drying racks, braids, or mesh bags.
Sources and further reading
- University of Minnesota Extension: Harvesting and Storing Home Garden Vegetables
- University of Minnesota Extension: Corn Growth and Development
- University of Minnesota Extension: Growing Sweet Corn
- University of Minnesota Extension: Growing Popcorn
- University of Minnesota Extension: Growing Staple Vegetables from Around the World
- Organic Seed Alliance: Sweet Corn Seed Production Quick Reference
- Iowa State University Extension: Mycotoxins and Deterioration in Corn
- Ganondagan: White Corn Project