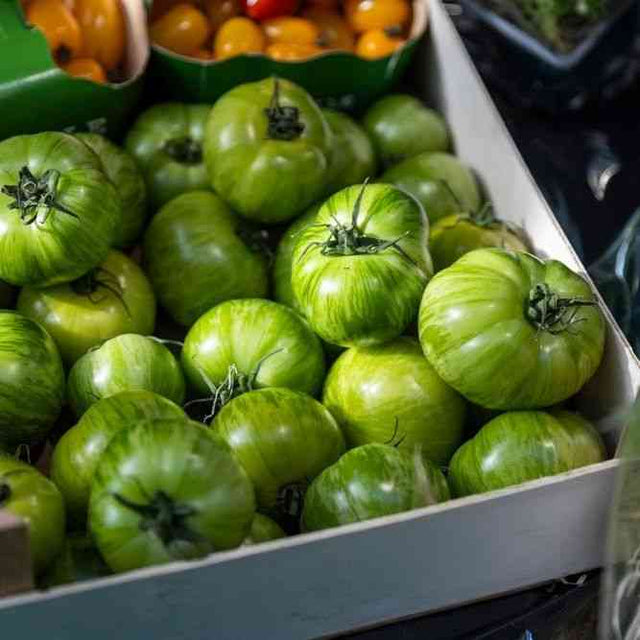
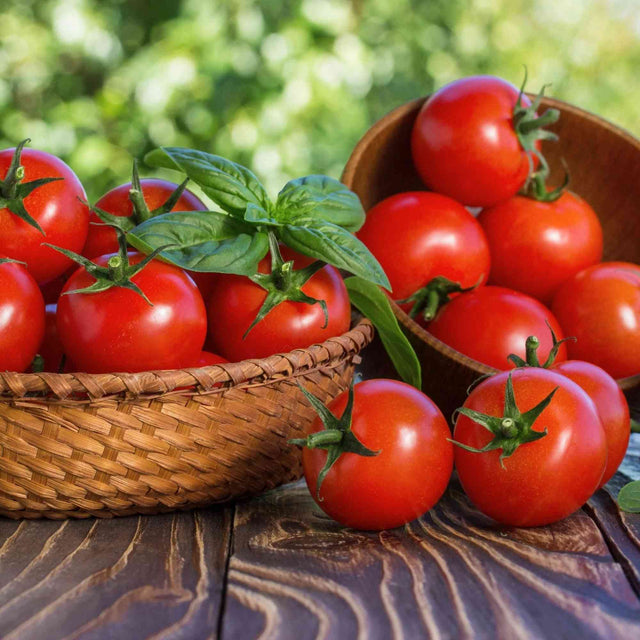
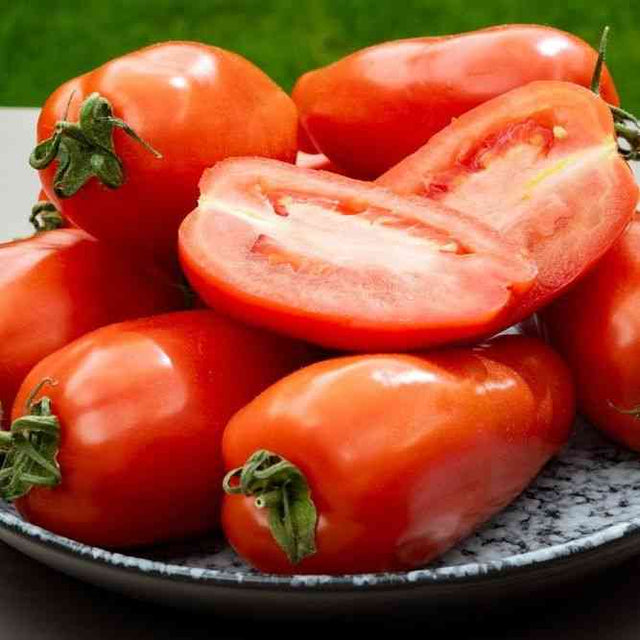
Saving tomato seed is easy to describe and easy to do carelessly. The wet seed can be cleaned in a few days, but the real work begins earlier, when we decide which variety is being maintained, which plants are true to type, how crossing risk will be managed, and what record will follow the seed after the original fruit is gone.
I label the container before I cut the tomato. That one habit prevents more confusion than any later attempt to identify a jar by color or memory. I also select the parent plant before harvest, not just the prettiest fruit on the kitchen table. Plant health, habit, maturity, productivity, fruit type, and conformity to the maintained line all matter.
Fermentation is a cleaning process, not a ritual that improves every mistake. It helps separate seed from the gelatinous coating and fruit debris, but seed can still be damaged by excessive heat, prolonged neglect, incomplete drying, or a missing label. The guide below treats the lot as a chain of custody from selected plant to tested storage seed.
Good tomato records begin with what the plant actually does in your garden, not with a promise copied from somewhere else.
Tomato seed-saving specifications
The seed lot begins in the field, not in the kitchen. Select and label the parent plants before harvesting fruit, then keep the variety and lot identity attached through every wet and dry step.
| Field measure | Practical starting point | How to use it |
|---|---|---|
| Parent plants | At least 3 to 5 typical healthy plants for a home maintenance lot | Use more plants when preserving broader genetic diversity. Avoid selecting from one exceptional plant by accident. |
| Fruit stage | Fully ripe, sound, and true to type | Mature seed comes from mature fruit. Exclude rotten, fermented, seriously cracked, or diseased fruit. |
| Crossing control | Distance, blossom bagging, or controlled pollination when purity matters | Tomatoes usually self-pollinate, but insects can move pollen. Required control depends on the purity goal and site. |
| Fermentation | Usually 2 to 4 days at room temperature | Use a loosely covered labeled container. Check daily and stop when gel separates and viable seed can be cleaned. |
| Cleaning | Add water, agitate, decant floating pulp, and repeat | Retain the sound heavy seed after the gel and debris are removed. |
| Drying | 7 to 14 days in a thin layer with airflow | Spread clean seed on a non-stick plate, coffee filter, or fine screen. Stir or break clumps as it dries. |
| Storage condition | Cool, dry, dark, and stable | Seal only fully dry seed. Add a complete label and keep the lot away from heat and humidity swings. |
| Germination check | Test before the next sowing season | Record the date, sample size, normal seedlings, abnormal seedlings, and dead seed. |
Fermentation helps remove the gelatinous coating and can reduce some surface contamination, but it is not a cure for seedborne disease and does not make diseased fruit appropriate for a maintenance lot. Start with healthy plants and sound fruit.
Do not seal an actively fermenting jar. Gas can build, and the process needs observation. A loose lid, cloth, or paper cover keeps debris out while allowing gas to escape. Label before the tomato is cut, because several red jars quickly become impossible to distinguish by sight.
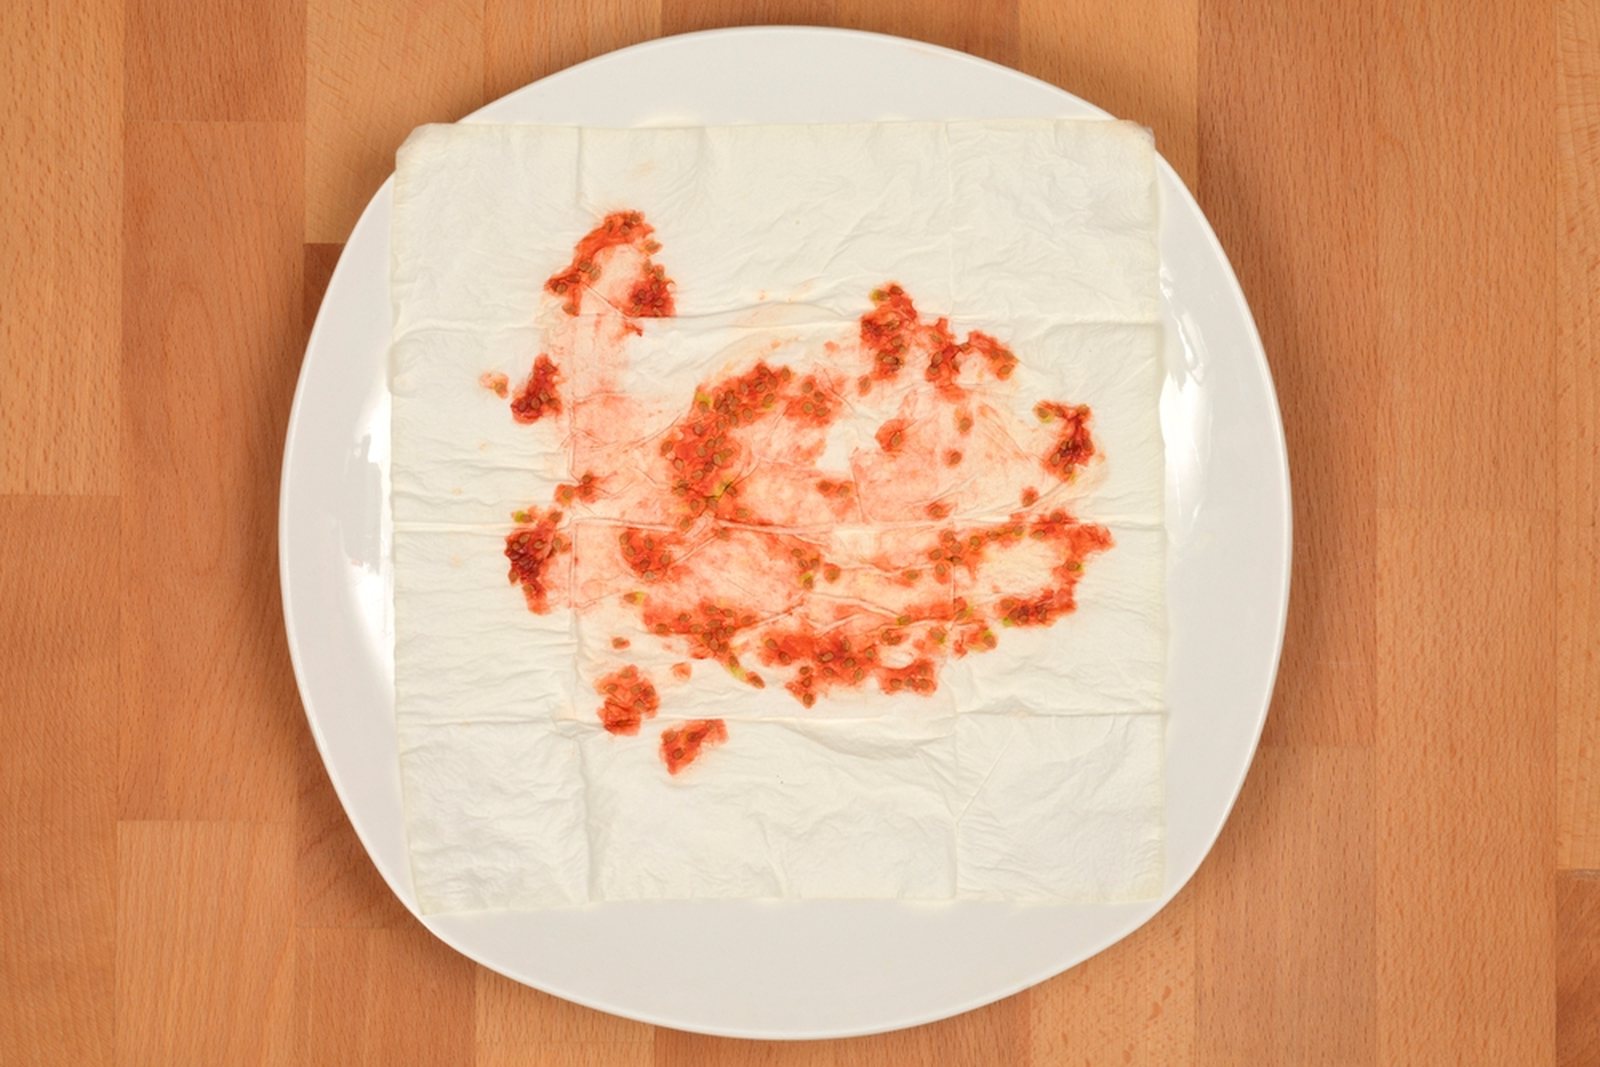
Drying uncleaned pulp on absorbent paper is not the preferred final method. It glues seeds together, traps pulp, and makes it difficult to judge cleanliness. Ferment or rinse first, then dry separated seed. The paper-pulp photograph in this guide is included as a common mistake, not as the recommended workflow.
Minimum lot label
- Full variety or strain name.
- Seed source or parent lot.
- Parent plant or row number when used.
- Harvest date and processing date.
- Location and crossing-control method.
- Any off-type, disease, or weather notes.
- Germination test date and result.
Important: Hybrid seed can be physically saved, but the next generation will segregate and may not reproduce the hybrid. Keep hybrid experiments separate from open-pollinated maintenance lots.
Start with the right kind of tomato and a clear goal
Open-pollinated tomatoes can reproduce a recognizable variety when seed is saved from typical plants and unwanted crossing or mixing is controlled. Heirloom is a historical or cultural description, while open-pollinated describes how a population can be maintained. A hybrid tomato may produce viable seed, but the next generation can segregate and may not resemble the hybrid parent.
Decide whether the goal is faithful maintenance, a household selection within the variety, or an intentional cross. Those are different projects and should not share one label. When maintaining a named variety, remove obvious off-types before they contribute seed and keep enough parent plants to avoid narrowing the line unnecessarily.
| Seed-saving goal | What the label should say | What to expect |
|---|---|---|
| Maintain a named open-pollinated variety | Exact variety, source, year, parent population | Plants should remain within the documented variety range |
| Select within a variety | Variety plus selected trait and parent plant | The trait must be evaluated over later generations |
| Save from an F1 hybrid | Hybrid name and F2 generation | Offspring may segregate widely |
| Make an intentional cross | Female parent, pollen parent, date, generation | The population requires several generations of selection |
Choose parent plants before choosing fruit
Walk the planting while plants are still growing. Mark individuals that match the expected plant habit, leaf type, maturity, fruit shape, color, and production pattern. Exclude plants with unexplained severe disease, obvious off-type traits, or poor performance that does not fit the selection goal.
One perfect tomato does not prove the whole plant is the right parent. A fruit can look attractive on a plant that matured very late, cracked badly, or differed from the maintained line. Record the plant first, then choose fully ripe, sound fruit from that plant.
- Variety and original seed source
- Plant number or row position
- Leaf type and plant habit
- First ripe date
- Fruit shape, size, color, and interior
- Disease and stress response
- Reason the plant was selected
- Any reason identity is uncertain
Save from more than one typical plant when maintaining a variety
A packet can be produced from one tomato, but a maintained variety is better represented by seed from several typical plants. Saving from only one plant repeatedly creates a narrow family line and allows that individual's hidden traits to dominate the next generation.
The appropriate population depends on the project and available space. For a household lot, combine seed from multiple healthy, true-to-type plants rather than relying on the single earliest or largest fruit. Keep unusual selections separate until they have been evaluated over later grow-outs.
When a rare or culturally important line is involved, document who provided it, what permission or stewardship expectations accompany it, and whether seed should be shared. A technical seed-cleaning method does not override community authority or provenance responsibilities.
Understand self-pollination and crossing risk
Tomato flowers are usually self-pollinating, and many varieties cross at relatively low rates compared with strongly outcrossing crops. Crossing is still possible. Flower structure, insects, neighboring varieties, and local conditions affect the risk. Some potato-leaf and other flowers may present the stigma in a way that increases exposure.
For ordinary home saving, distance, physical separation, caging, blossom bagging, or saving from protected clusters can reduce uncertainty. The method should match the importance of varietal purity. If a crossing would create a serious stewardship or commercial problem, use a more controlled method and document it rather than assuming self-pollination is absolute.
Mark any protected flower cluster before fruit develops. A bag placed after pollination cannot prove isolation. Keep intentionally crossed or uncertain fruit out of the maintenance lot.
Harvest fully ripe, sound fruit with the identity intact
Seed reaches maturity as the fruit ripens. Choose fruit that has developed the expected mature color and texture for the variety. Breaker fruit can finish indoors before seed removal, but immature green fruit that never ripens normally should not be used as the foundation of a lot.
Avoid fruit with advanced decay, mold, or severe internal breakdown. A superficial crack does not automatically ruin all seed, but damaged fruit needs careful judgment and separate handling. Do not let several unlabeled varieties accumulate in one harvest container.
Use a durable field label on the fruit bag or tray. At the processing table, create the jar label before opening the first fruit. Include the variety, plant or plot, year, and any isolation or selection code.
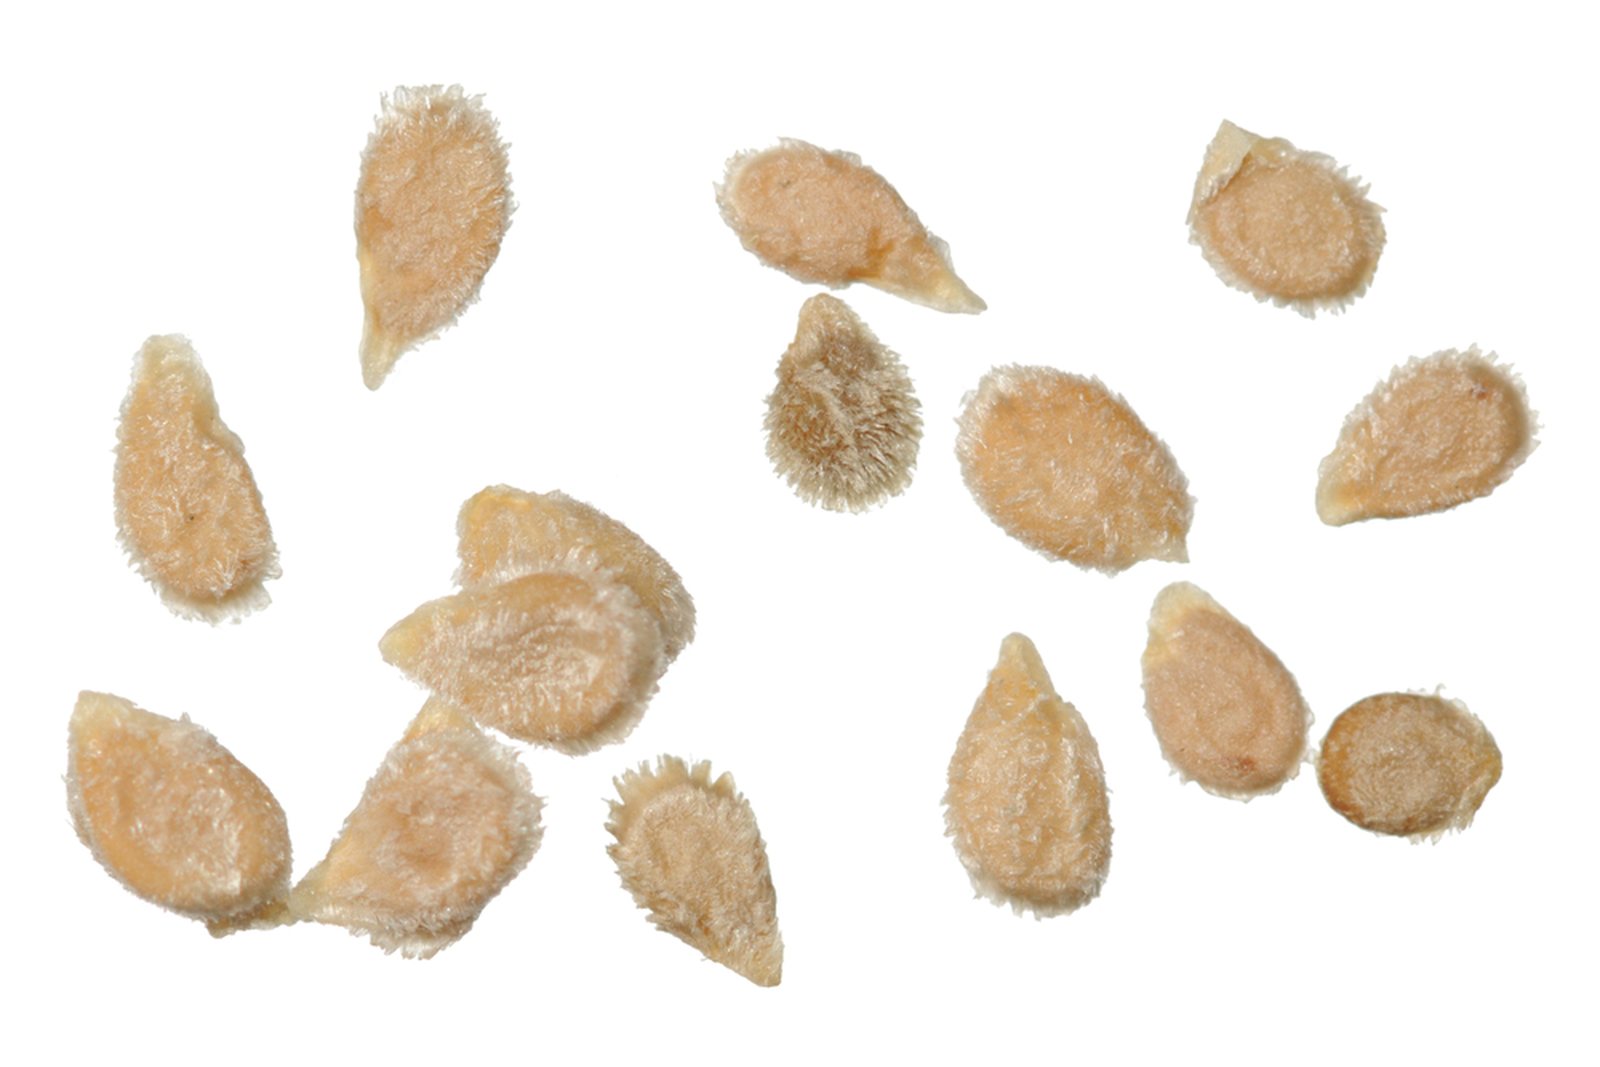
Extract seed and gel into a clean labeled container
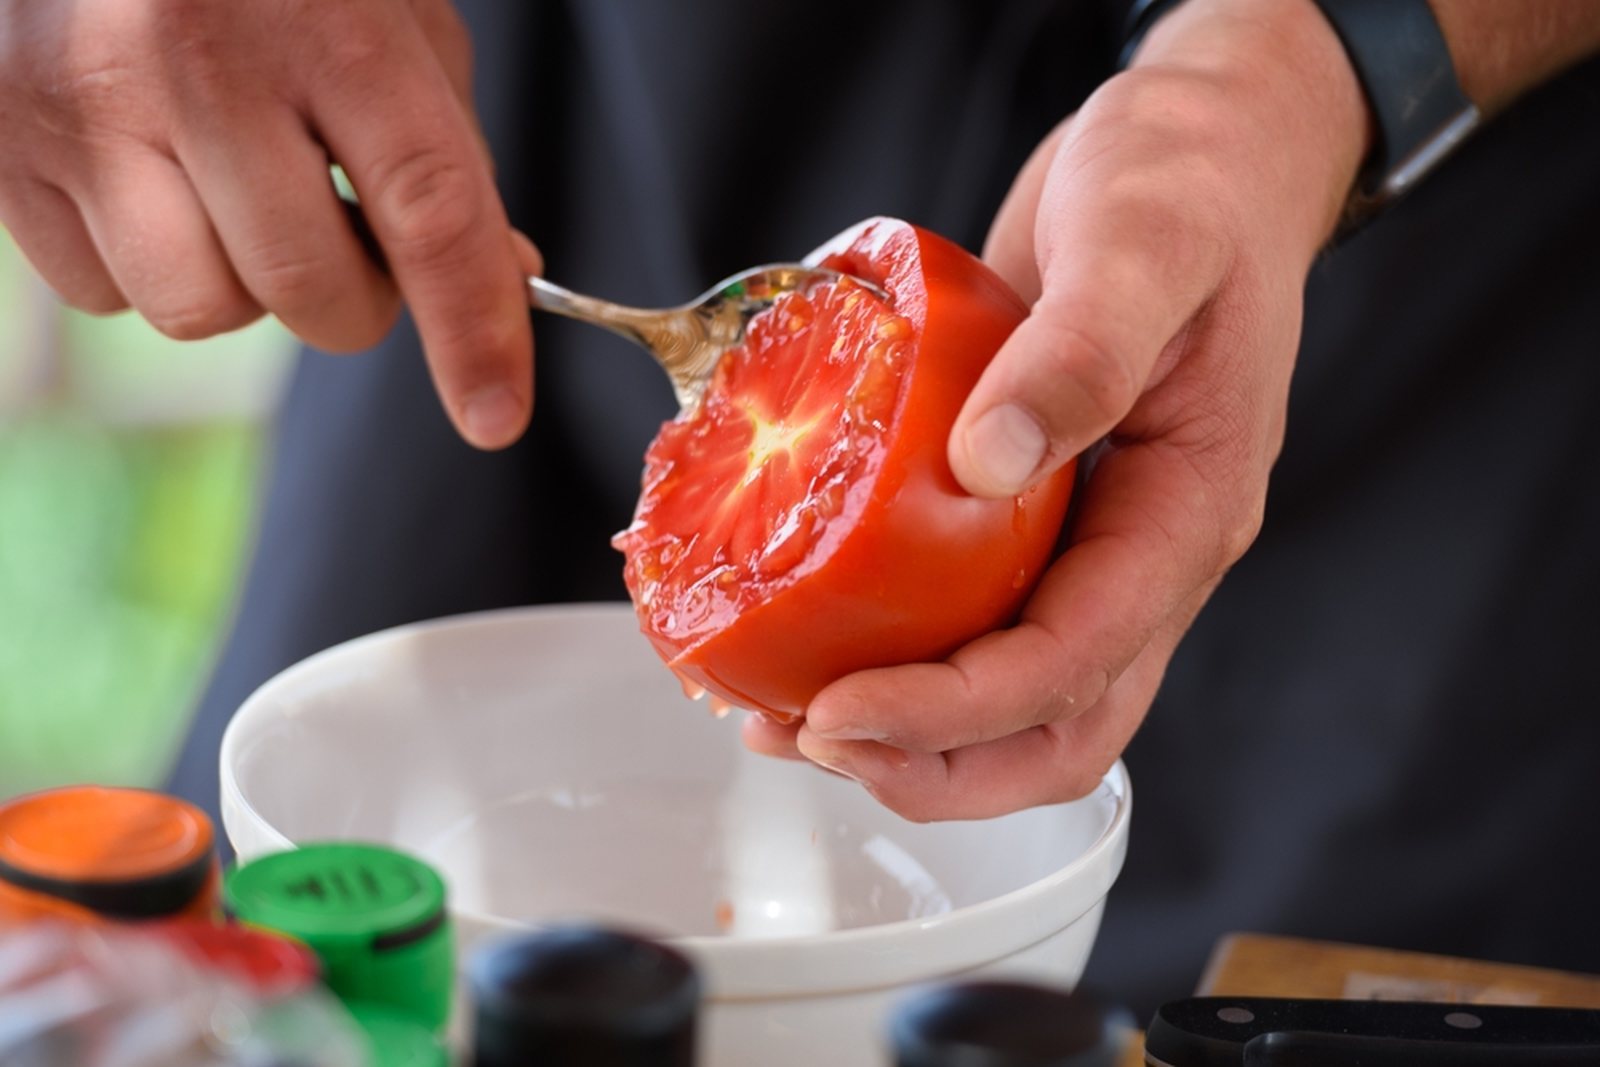
Cut the fruit across the seed cavities or open it in the way that gives clean access. Squeeze or scoop seed and gel into a small nonreactive container. Add only enough water to keep the mixture workable when needed. Excess water can make it harder to observe the process and increases the volume that must be handled.
Clean knives, spoons, and the work surface between varieties. Process one variety at a time, or maintain physical separation and separate tools. Keep the label with the container, not on a loose note nearby.
The remaining flesh can be tasted or cooked when it is sound. Record flavor and interior traits while the variety identity is certain. Keep those observations with the seed record.
Ferment briefly until the gel breaks down
Tomato seed is enclosed in a gelatinous coating. A short fermentation helps break down that coating and separates much of the pulp. Cover the container loosely so gas can escape and insects are excluded. Keep it out of direct sun and excessive heat.
Stir or inspect daily. The exact time varies with temperature and the amount of fruit material, so watch the mixture rather than following one rigid number of hours. The process is ready to clean when the gel has broken down and viable-looking seed settles readily during washing. Do not leave the lot unattended for a long period after that point.
Fermentation can develop odor and surface growth. That does not mean every seed is ruined, but prolonged hot fermentation can reduce germination. Small clearly labeled batches are easier to manage than one large mixed bucket.
Rinse repeatedly and retain the sound seed
Add water, stir, and allow the heavier seed to settle briefly. Pour off floating pulp, gel, and light debris without losing the settled seed. Repeat until the water is reasonably clear and the seed is free of fruit material. A fine sieve can help with the final rinse.
Floating is a cleaning clue, not a perfect laboratory viability test. Some good seed can be lost if the mixture is poured too quickly, while some poor seed may sink. Use careful settling and later germination testing rather than treating one rinse as a final quality verdict.
Inspect for pieces of skin and pulp that could slow drying. Transfer the cleaned seed immediately to the labeled drying surface. Never rely on remembering which sieve held which variety.
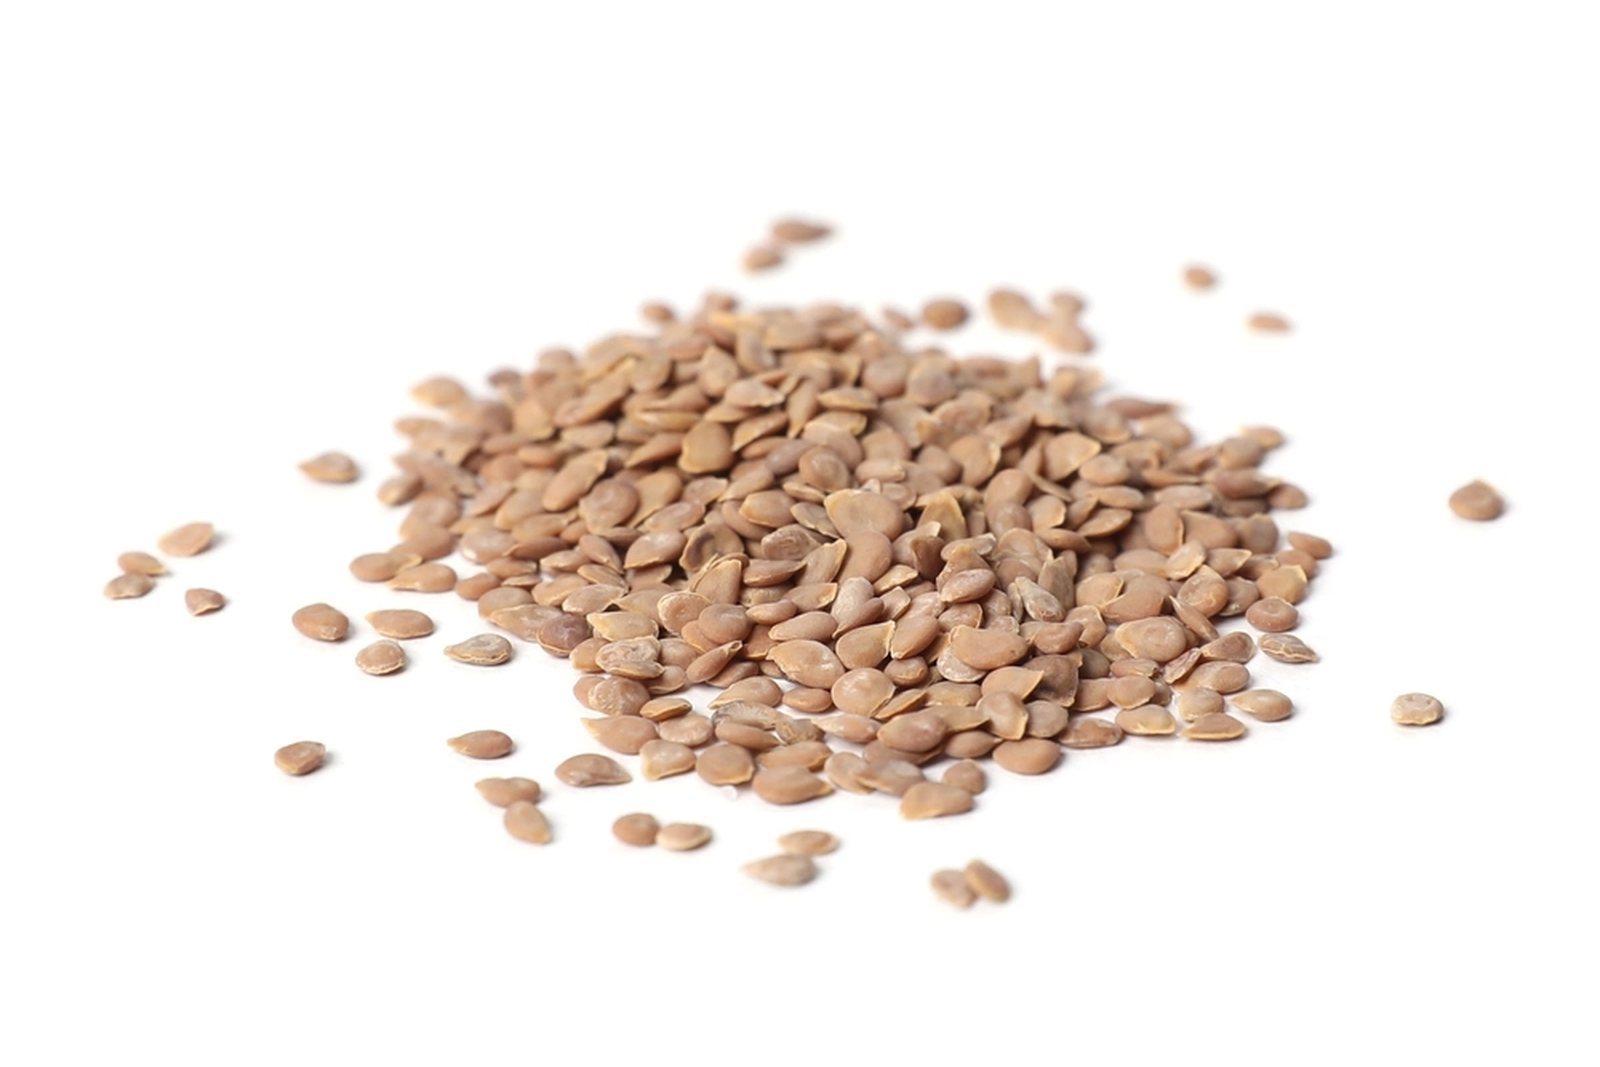
Dry quickly in a thin layer with airflow
Spread clean seed in a thin layer on a labeled nonabsorbent or easily released surface. Break up clumps as they begin to dry so air reaches individual seeds. Use a protected room with moving air, moderate temperature, and no direct intense heat.
Do not dry tomato seed in an oven, on a hot radiator, or in direct sun where the seed temperature cannot be controlled. Paper towels can hold seeds so tightly that later removal is difficult, while deep piles trap moisture. A plate, screen, coffee filter, or other clean surface can work when the seed can be spread, turned, and labeled securely.
Seed that feels dry on the surface may still contain enough internal moisture to mold in a sealed container. Continue drying beyond the first loose appearance, then allow the seed to equilibrate in a dry room before storage. When in doubt, extend gentle air drying rather than sealing early.
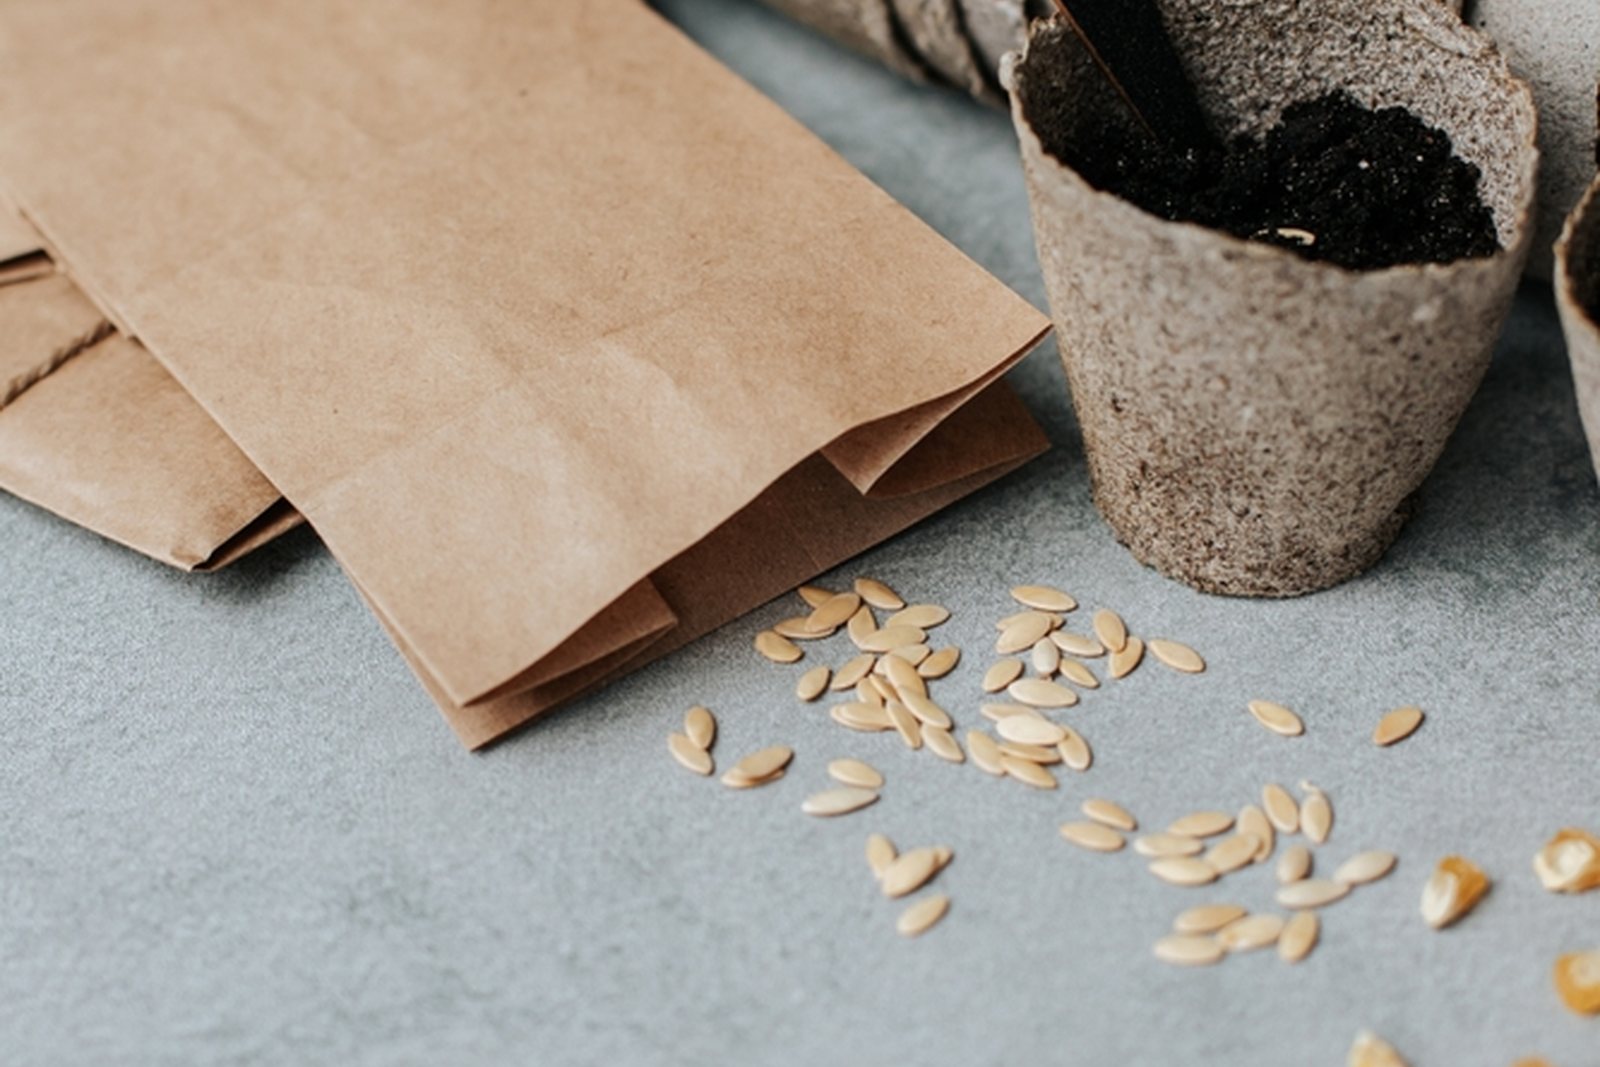
Create a seed label that carries more than a variety name
A useful label makes the lot understandable after the gardener who saved it is no longer standing beside the packet. Include the exact variety or working population name, year, location, source lineage, generation when relevant, parent selection, isolation method, and any uncertainty.
- Variety or population name
- Original source and year acquired
- Year and location grown
- Parent plant or population code
- Isolation or blossom protection method
- Off-types removed or traits selected
- Processing date
- Germination test date and result
- Restrictions, permissions, or stewardship notes
Do not upgrade a story into documented provenance. If a history is reported but unverified, label it that way. Accurate uncertainty protects the seed and the people connected to it better than a confident invention.
Store only fully dry seed in a cool, dry, stable place
Moisture and heat shorten seed life. Once the seed is fully dry, place it in a clean labeled packet or container and keep it in a cool, dry, stable location. Avoid repeated temperature swings, humid sheds, and containers that trap moisture introduced during packing.
A sealed container can be useful only when the seed is dry enough before sealing. Desiccant may help manage residual humidity in an appropriate storage system, but it is not a substitute for drying. Keep seed away from food spills, insects, rodents, and household chemicals.
Separate the working packet from the reserve lot. Repeatedly opening the entire supply exposes all seed to humidity and mixing risk. A small working packet can be replenished while the main lot remains protected.
Test germination before the seed is needed
A germination test checks viability and gives the next grower a realistic sowing plan. Count a known number of seeds, place them under suitable moisture and temperature, record normal seedlings, and calculate the percentage from the actual number tested. Label the test with the lot and date.
For a small household lot, even a modest test is better than guessing, but preserve enough seed for planting. A commercial or regulatory claim requires the applicable official method and sample requirements. Do not present a casual paper-towel test as an official laboratory result.
Use the test as feedback on fermentation, drying, and storage. A sharp decline may indicate immature fruit, excessive fermentation, heat damage, incomplete drying, or poor storage. Retest older lots before the planting window rather than discovering failure after the season has started.
Verify identity in the next grow-out
Germination proves that a seed can produce a normal seedling, not that the plant is true to type. Grow enough plants to observe leaf type, habit, maturity, flower structure, fruit shape, mature color, interior, flavor, and any selected traits. Rogue clear off-types before saving the next generation.
Keep uncertain or intentionally crossed plants in a separate line. If a saved lot produces unexpected variation, do not hide it under the original variety name. Record the segregation, investigate mixing or crossing, and decide whether to restart from a trusted reserve or continue the new population under an honest working name.
A seed line is maintained through repeated observation. The cleanest jar and prettiest label cannot replace the grow-out that confirms what the seed actually became.
Stop the process when identity or health is uncertain
A large quantity of unidentified seed is less useful than a small, well-documented lot. If labels were lost, plants were mixed, or disease was severe, keep the seed as an experimental lot or discard it rather than relabeling it with confidence that no longer exists.
| What you observe | Most useful next check | Action that follows the evidence |
|---|---|---|
| Several varieties were cut before jars were labeled | Trace plant tags, photographs, and fruit differences without guessing | Keep uncertain seed separate and label it as unknown or mixed. |
| Seed begins sprouting during fermentation | Check duration and temperature | Stop, rinse, and dry immediately. Shorten the next fermentation and inspect daily. |
| Dried seed remains clumped with pulp | Check whether it was cleaned before drying | Rewet and clean only when necessary, then dry again thoroughly. Do not store damp clumps. |
| The parent plant was diseased or off-type | Determine whether the lot is for experimentation or maintenance | Do not include it in a true-to-type maintenance lot. |
Decide whether you are saving seed for curiosity or maintaining a variety
This guide explains how to save tomato seeds while preserving both germination and variety identity. It shows when to ferment tomato seeds, how to dry tomato seeds, how tomato seed isolation distance changes with flower type, how to store tomato seeds, and how to run a tomato seed germination test.
How to save tomato seeds changes with the goal. One fruit can produce seed for a casual home experiment. Maintaining a named open-pollinated variety requires several typical parent plants, isolation records, selection, clean processing, and a grow-out to verify identity.
| Goal | Parent approach | Isolation approach | Record standard |
|---|---|---|---|
| Home experiment | One or more healthy fruit | Accept possible crossing | Label as experimental |
| Household true-to-type seed | Save from several typical plants | Use distance or bag blossoms | Variety, parents, date, and isolation |
| Variety maintenance | Roughly 10 to 20 plants when possible | Use the appropriate isolation standard | Population, roguing, field map, lot, and grow-out |
| Commercial or preservation-quality lot | Planned population and selection | Greater distance, barriers, or controlled pollination | Full production and quality records |
Organic Seed Alliance recommends a minimum maintenance population of about 10 to 20 tomato plants. Saving from multiple parents reduces the risk that one unusual plant, mutation, or accidental cross dominates the next generation.
Tomatoes mostly self-pollinate, but crossing still happens
Most modern tomato flowers enclose the stigma inside the anther cone, favoring self-pollination. Some heirloom, potato-leaf, or large-lobed varieties may have floral structures that expose the stigma and increase insect-mediated crossing.
Organic Seed Alliance gives home-use isolation starting points of about 10 feet for many modern round-fruited types and about 40 feet for heirloom or potato-leaf types with more exposed stigmas. Commercial standards are greater. When several varieties grow together and purity matters, use the greatest applicable distance or bag flowers.
Bagging blossoms
- Choose unopened clusters on healthy typical plants.
- Cover with a fine pollination bag before flowers open.
- Gently shake or vibrate the bagged cluster as flowers open.
- Mark the cluster and remove the bag after small fruit are clearly set.
- Save seed only from the marked fruit.
Record the method. A seed lot without isolation notes should not be represented as preservation-quality simply because tomatoes usually self-pollinate.
Select parent plants before selecting fruit
Do not walk through the final harvest and save the largest tomato without knowing the plant. Mark parents during the season.
- Matches expected leaf type and plant habit
- Produces typical fruit color and form
- Shows no unexplained virus-like distortion or systemic wilt
- Performs reasonably under the site's disease and heat pressure
- Has not been mixed up with another variety
- Contributes useful traits without being a single extreme outlier
Reject fruit from plants with suspected seedborne disease, unknown identity, or clear off-type traits. A beautiful fruit does not repair a compromised parent record.
Ferment tomato seed for 2 to 3 days, then stop
The gelatinous coating around tomato seed contains germination-inhibiting material and clings to pulp. Fermentation helps break it down. Organic Seed Alliance guidance commonly uses about 2 to 3 days at 70 to 85 F.
- Cut fully ripe, disease-free fruit.
- Squeeze or scoop seed and gel into a clean labeled container.
- Add little or no water unless the mash is too thick to stir.
- Cover loosely to exclude insects while allowing gas exchange.
- Stir once or twice daily.
- Stop after about 2 to 3 days when gel has broken down and the mix separates more readily.
A surface film may appear, but a thick mold layer is not the goal. Long fermentation can damage germination. Use time and temperature rather than waiting for an extreme smell or heavy fungal growth.
Do not mix lots. One container, spoon, strainer, and drying surface should be cleaned before another variety is processed.
Clean tomato seed by settling and decanting
- Add several volumes of clean water to the fermented mash.
- Stir thoroughly.
- Allow heavy sound seed to settle briefly.
- Pour off floating pulp, skin, and light seed.
- Repeat until the water is mostly clear.
- Pour the remaining seed through a fine strainer.
- Rinse while rubbing gently to remove remaining gel.
Floating seed is often light or poorly filled, but do not treat one quick float as a laboratory viability test. The goal is to remove pulp and obvious light material while retaining well-filled settled seed.
Dry tomato seed quickly in a thin layer with airflow
Spread clean seed on screen, glass, a coated plate, or another nonabsorbent labeled surface. Avoid paper towel because seed can adhere to fibers and remain in damp clumps.
- Spread one seed deep rather than in a mound.
- Place in moving air out of direct intense sun.
- Keep drying temperature below about 95 F.
- Stir or break clumps several times daily.
- Protect from insects, dust, and mixed labels.
- Continue until seed is hard, separates freely, and no cool damp clumps remain.
Do not package seed that only feels dry on the surface. Moist seed sealed in an envelope or jar can mold and lose viability.
Write a tomato seed label that can survive memory loss
| Label field | Example | Purpose |
|---|---|---|
| Full variety or strain | Black Krim, not "black tomato" | Preserves identity |
| Lot code | BK-2026-FC-01 | Links seed to records |
| Parent plants | P3, P5, P8, P9 | Documents population |
| Isolation | Bagged cluster or 40-foot separation | States crossing control |
| Harvest and cleaning dates | August 8; fermentation ended August 10 | Tracks processing |
| Field notes | Typical fruit; P5 removed for wilt | Supports next grow-out |
| Germination test | 92 percent, January 2027 | Supports sowing decisions |
Place the label inside and outside long-term containers when practical. Ink on a damp bag can disappear.
Store tomato seed cool, dry, dark, and stable
Seed longevity improves when temperature and moisture are low and stable. Organic Seed Alliance notes that thoroughly dried tomato seed can remain viable for several years under favorable conditions around 40 to 60 F and 40 percent relative humidity or lower. A household does not need a laboratory, but it should avoid hot sheds, cars, kitchens above the stove, and damp basements.
- Dry completely before sealing.
- Use moisture-resistant containers for long storage.
- Add a desiccant only when seed is already dry and the container can be sealed.
- Keep lots away from temperature swings.
- Retain a backup in a separate safe location for rare seed.
Test saved tomato seed before the planting window
- Count 25, 50, or 100 seeds.
- Place on moist, not dripping, paper in a labeled container.
- Hold at an appropriate warm temperature.
- Count normal seedlings on a consistent schedule.
- Calculate normal seedlings divided by seed tested x 100.
- Record abnormal seedlings, mold, and delayed emergence separately.
Example: 46 normal seedlings from 50 seeds equals 92 percent germination. If most emerge quickly but four take much longer, record that vigor pattern too.
A low test can be repeated to rule out poor test conditions. Adjust sowing rate only after confirming the result.
Take tomato seedborne disease seriously
Tomatoes can carry pathogens on or in seed. Fermentation is useful for pulp removal but is not a universal sanitation treatment. Do not save from fruit showing disease or from plants with suspected systemic or seedborne infection.
Hot-water treatment can reduce certain pathogens, but the temperature and time must be exact. Organic Seed Alliance describes a treatment that prewarms seed at 100 F for 10 minutes, then uses 122 F for 25 minutes followed by immediate cooling. This can reduce germination or storage life and should be used only with calibrated equipment and a clear reason. Treat a small sample first or use a qualified seed laboratory.
Never improvise hot-water treatment with an unverified kitchen thermometer. A few degrees can separate ineffective treatment from damaged seed.
Complete seed saving with a verification grow-out
The next crop is the final quality check. Compare emergence, leaf type, plant habit, flower structure, fruit shape, color, maturity, and flavor with the parent record. Rogue clear off-types before they contribute to the next seed lot.
| Grow-out observation | Possible interpretation | Action |
|---|---|---|
| One plant clearly different | Cross, mutation, or seed mix | Rogue and document |
| Many plants variable | Population is heterogeneous, crossed, or mislabeled | Do not represent as a uniform strain without further selection |
| Expected form but different maturity | Environment, seed vigor, or selection shift | Compare replicated plants and records |
| Low germination | Incomplete drying, age, damage, or poor test | Retest and review processing |
| Virus-like symptoms across lot | Possible seedborne or environmental problem | Seek diagnostic help and quarantine the lot |
Responsible seedkeeping is not merely extracting seed. It is maintaining identity and health across generations.
Prevent variety and lot contamination during tomato seed processing
Most home seed errors are not genetic. They are labels, tools, bowls, screens, and packets used in the wrong order.
- Process only one variety on the work surface at a time.
- Place the label inside a waterproof sleeve beside the container, not across the room.
- Use color-coded tubs or trays for lots.
- Clean knives, spoons, buckets, strainers, and screens between varieties.
- Do not dry two similar lots on the same unlabeled rack.
- Package and remove one lot before opening the next.
- Keep rejected or off-type fruit physically separate.
Assign a lot code at harvest and use it through fermentation, drying, storage, germination testing, and the next grow-out.
Scale tomato seed saving from one jar to a bucket without losing control
| Scale | Container | Main risk | Control |
|---|---|---|---|
| One or two fruit | Pint jar | Overfermentation and lost label | Daily check and duplicate label |
| Home maintenance lot | Quart or gallon container | Thick mash and poor mixing | Stir twice daily and add little water |
| Small production lot | Food-grade bucket | Heat, uneven fermentation, and mixed parents | Shallow fill, lot map, calibrated temperature, frequent mixing |
| Multiple lots | Separate dedicated containers | Tool and drying-screen contamination | Lot-by-lot workflow and cleaning log |
Do not fill a large bucket so deeply that fermentation becomes uneven and cleaning is unmanageable. Several smaller containers with the same lot code can be combined after clean seed is dry and quality checked.
A tomato seed lot quality-control checklist
- Full variety and strain name present
- Parent count documented
- Isolation or blossom-bag method documented
- Off-types and diseased plants removed
- Fruit fully ripe and sound
- Fermentation time and temperature recorded
- Seed clean and free of pulp
- Drying surface and dates recorded
- Seed hard, free-flowing, and free of mold
- Germination tested before distribution
- Grow-out confirms identity
Do not distribute a lot with unknown identity or unexplained disease. Hold it for a verification grow-out or discard it.
Manage saved tomato seed as inventory
Use first-expiring, first-out logic. Older lots with acceptable germination should be planted or shared before newer lots. Keep a retained sample from each important lot. Record quantity entering storage, quantity removed, and the reason.
| Inventory field | Example |
|---|---|
| Lot | BRAN-PINK-2026-01 |
| Clean weight | 18.4 grams |
| Storage location | Cabinet A, bin 3 |
| Initial germination | 94 percent |
| Retest date | January 2028 |
| Retained sample | 100 seeds |
| Distribution restrictions | Verification grow-out complete |
A packet is the last step. The quality system begins with the parent plant.
Detailed tomato seed-saving questions
Do tomato seeds have to be fermented?
Fermentation is the standard method for breaking down gel and cleaning seed, and it can improve handling. Small household lots can sometimes be cleaned without it, but the seed remains harder to separate. Fermentation is not a universal disease treatment.
How long should tomato seeds ferment?
About two to three days at roughly 70 to 85 F. Stir daily and stop when the gel has broken down. Longer is not better and can reduce germination.
Can tomato seeds be dried on paper towel?
It is not recommended for maintained lots because seed sticks to fibers and can remain in damp clumps. Use screen, glass, a coated plate, or another labeled nonabsorbent surface with airflow.
Will tomato seeds cross with other varieties?
Crossing is possible even though tomatoes mostly self-pollinate. Use isolation or blossom bags when purity matters, especially with heirloom or potato-leaf flowers that may expose the stigma.
How many tomato plants should seed be saved from?
For variety maintenance, Organic Seed Alliance recommends about 10 to 20 plants when possible. A home gardener should save from several typical plants rather than one exceptional fruit.
How long do tomato seeds last?
Well-dried tomato seed can remain viable for several years under cool, dry, stable storage. Test germination before sowing and manage older lots first.
Can seed be saved from a hybrid tomato?
Yes for a breeding experiment, but the next generation will segregate and will not reproduce the F1 hybrid consistently. Label it as experimental rather than the original hybrid variety.
Can seed be saved from a diseased tomato plant?
Avoid saving from plants with suspected systemic, viral, bacterial, or seedborne disease. Fermentation does not eliminate every pathogen. Use healthy typical parents and seek specialist guidance for rare material.
Frequently asked questions
Can I save seeds from any tomato?
You can save viable seed from many tomatoes, but open-pollinated varieties are the standard choice for maintaining a recognizable line. Seed from an F1 hybrid may segregate in the next generation.
Do tomato seeds have to be fermented?
Fermentation is a common method for breaking down the gel and cleaning wet tomato seed. Careful nonfermented cleaning methods exist, but the seed still must be thoroughly cleaned, dried, labeled, and tested.
How long should tomato seeds ferment?
Watch the mixture rather than using one rigid time. Clean the seed once the gel has broken down and seed settles readily; prolonged hot fermentation can damage viability.
Can tomato varieties cross with each other?
Yes, although tomatoes are usually self-pollinating and crossing rates are often lower than in strongly outcrossing crops. Flower structure, insects, distance, and protection affect the risk.
How do I know tomato seeds are dry enough?
They should be loose, hard, and free of clumps after extended gentle air drying. Surface dryness alone is not enough; avoid sealing a lot while internal moisture may remain.
Will a germination test prove the variety is correct?
No. Germination measures viability. A grow-out is needed to evaluate plant and fruit identity and identify off-types or crosses.