A tomato seedling does not need to be impressive in March. It needs to be balanced, labeled, and ready when the garden is ready. Starting too early often produces tall, root-bound plants that flower in small pots and spend weeks recovering. Starting too late gives away part of the season. The right date works backward from a realistic transplant window.
Temperature matters most before emergence, while light becomes the urgent factor immediately afterward. Many failures come from continuing the same warm, humid, covered conditions after seedlings break the surface. The dome stays on, the light is too far away, the mix remains saturated, and the seedlings stretch before the gardener realizes the crop has changed stages.
Treat every tray as a small experiment. The label carries variety, lot, sowing date, tray position, first emergence, and any treatment. That record makes it possible to distinguish slow seed from cold media, deep sowing, uneven watering, or weak light.
Good tomato records begin with what the plant actually does in your garden, not with a promise copied from somewhere else.
Tomato seed-starting specifications
A seedling schedule should be built backward from the realistic transplant date. Starting too early often creates root-bound, shaded, overfed plants that need more recovery than younger stock.
| Field measure | Practical starting point | How to use it |
|---|---|---|
| Sowing date | 5 to 8 weeks before transplant | Use 5 to 6 weeks with excellent light and fast growth. Use 7 to 8 weeks when conditions are cooler or a pot-up is planned. |
| Sowing depth | About 1/4 inch | Cover lightly with clean seed-starting mix and maintain even moisture without saturation. |
| Germination temperature | 70 to 85°F in the root zone | A thermostatically controlled heat mat helps when the room is cool. Remove or reduce heat after emergence. |
| Typical emergence | About 5 to 10 days under warm, even conditions | Some lots are slower. Do not discard a tray solely because the first seedlings appeared unevenly. |
| Light after emergence | 14 to 16 hours of strong overhead light per day | Keep the fixture close enough for compact growth according to the light manufacturer. Rotate trays if edge plants lean. |
| Pot-up point | When 1 to 2 sets of true leaves are present or roots fill the cell | Move before roots become a tight circling mass or seedlings compete heavily for light. |
| Fertilizer | Begin a dilute complete fertilizer after true leaves develop | Start around 1/4 to 1/2 label strength when using a low-nutrient mix. Watch the plant and the product directions. |
| Hardening | 7 to 10 days | Increase outdoor sun, wind, and temperature exposure gradually. Protect from cold nights and sudden full sun. |
| Transplant conditions | After frost danger, with soil near 60°F or warmer | Plant into prepared soil, water the root ball, and install support at the same time. |
The room temperature is not the same as the temperature inside the seed-starting mix. Measure the root zone. A tray on a cold windowsill can remain much cooler than the room, while a covered tray on a heat mat can become too warm.
After emergence, light becomes the urgent variable. Stretching is usually a light problem made worse by continued high heat and crowding. Do not try to correct severe legginess with more fertilizer. Improve light, lower unnecessary heat, add spacing, and pot seedlings deeper when the stem is healthy.
Water by weight and root-zone condition. Lift a cell pack or pot to learn the difference between moist and saturated. Water thoroughly, allow drainage, and avoid leaving young roots in a continuously wet saucer. Small cells can dry quickly, so check them more than once during bright or warm days.
A tray record worth keeping
- Variety, seed lot, sowing date, and cells sown.
- First emergence and final emergence count.
- Root-zone temperature during the first week.
- Light schedule and distance from the canopy.
- Pot-up date, fertilizer dates, and any damping-off or edema.
- Hardening dates, transplant date, and condition at transplant.
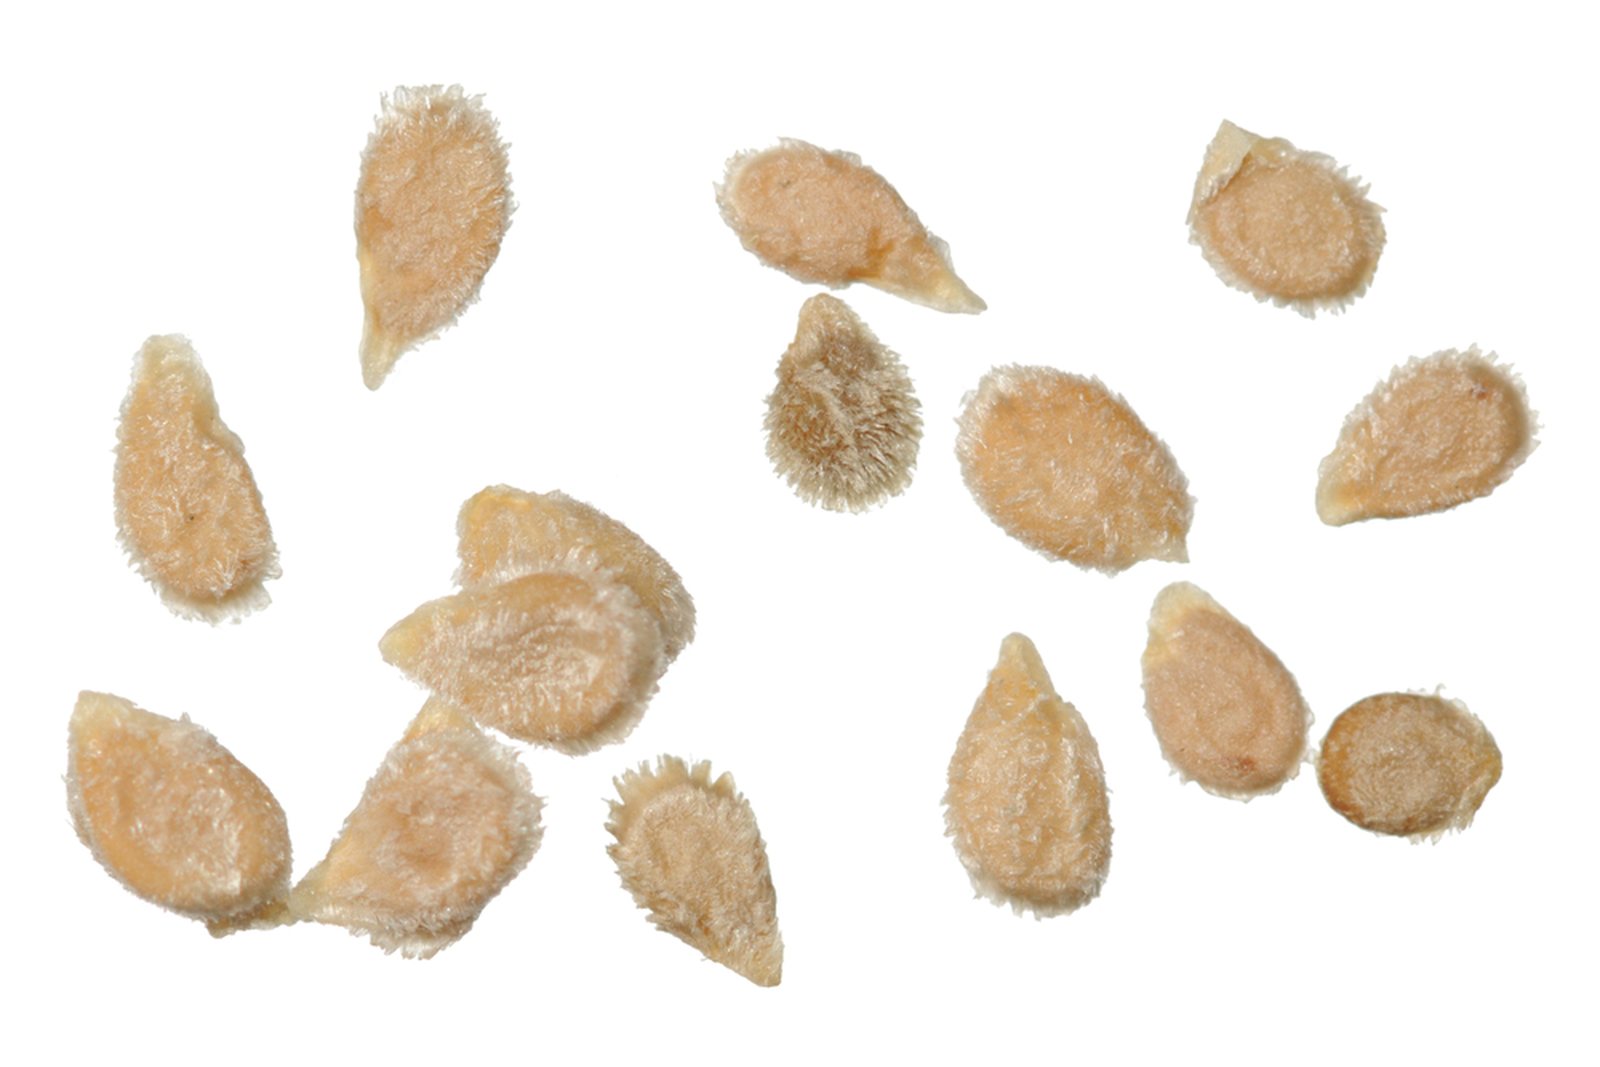
Important: Generic stock photographs may contain seeds that are not tomato seeds. Use the packet and lot label for identity; tomato seed is small, flattened, tan, and slightly fuzzy.
Calculate the sowing date from the transplant date
Begin with the date when tomato transplants can safely enter your garden, not with a generic indoor-sowing month. Frost danger should be past, soil should be warming, and nighttime temperatures should support active growth. Count backward about six to eight weeks for most home systems, then adjust for container size, light quality, and how quickly your seedlings usually grow.
A heated greenhouse with strong light may produce a sturdy transplant faster than a cool windowsill. A gardener who plans to pot up into large containers can hold plants longer than someone using small cells, but extra container volume does not justify starting months too soon. The goal is a vigorous transplant with a root ball that holds together without circling heavily.
| Planning point | Question to answer |
|---|---|
| Transplant window | When are frost, soil, and nights suitable? |
| Indoor system | How warm, bright, and spacious is the growing area? |
| Variety | Is it compact, dwarf, early, or a vigorous long-season indeterminate? |
| Pot-up plan | Will plants remain in cells or move once into larger pots? |
| Backup margin | Is there room to delay transplanting during a cold spell? |
Label the seed lot and tray before sowing
Write the full variety name, seed lot or source, sowing date, and tray position before the packet is opened. Use a waterproof label and a separate tray map. Tomato seedlings can be difficult to distinguish, and one missing tag can turn a carefully planned comparison into anonymous plants.
Record the number of seeds sown and the number of normal seedlings that emerge. This is not a formal germination test unless controlled testing methods are used, but it reveals whether one tray section was colder, drier, wetter, or more deeply sown than another. When emergence is poor, the map helps locate the pattern.
- Full variety and source
- Lot or purchase year
- Date sown
- Cell or row position
- First emergence date
- Number emerged
- Pot-up and transplant dates
Use clean, fine seed-starting media with drainage
A seed-starting mix should hold moisture while draining enough air to the seed and young roots. Fine texture helps small seeds maintain contact with the mix. Garden soil alone is often too dense, variable, and biologically active for small indoor cells. Moisten the mix before filling so dry pockets do not remain beneath a wet surface.
Fill cells evenly without compressing them into hard blocks. Sow tomato seed shallowly, commonly around one quarter inch, and cover with fine mix or vermiculite according to the system. Press gently for contact, then water without washing seed into the corners.
Use clean containers and tools. Reused trays should be washed and sanitized appropriately. Good sanitation does not make seedlings sterile; it reduces avoidable damping-off and algae pressure in a warm, crowded environment.
Measure root-zone temperature during germination
Tomato seed germinates best in warm media. Air temperature across the room is not the same as the temperature inside a cell on a cold bench or windowsill. Use a probe or reliable thermometer near the root zone. A heat mat with a thermostat can improve uniformity, but unregulated heat can overheat the mix or dry tray edges.
Keep media evenly moist, not waterlogged. A clear cover can slow drying before emergence, but inspect daily and provide ventilation when condensation is heavy. Remove the cover as soon as seedlings begin emerging so air moves and leaves are not held in a constantly saturated chamber.
If nothing emerges, do not immediately reseed. Check temperature at media depth, moisture below the surface, sowing depth, seed age, and the expected germination window. Dig up only a few cells for diagnosis so the rest of the tray can continue.
Provide strong overhead light immediately after emergence
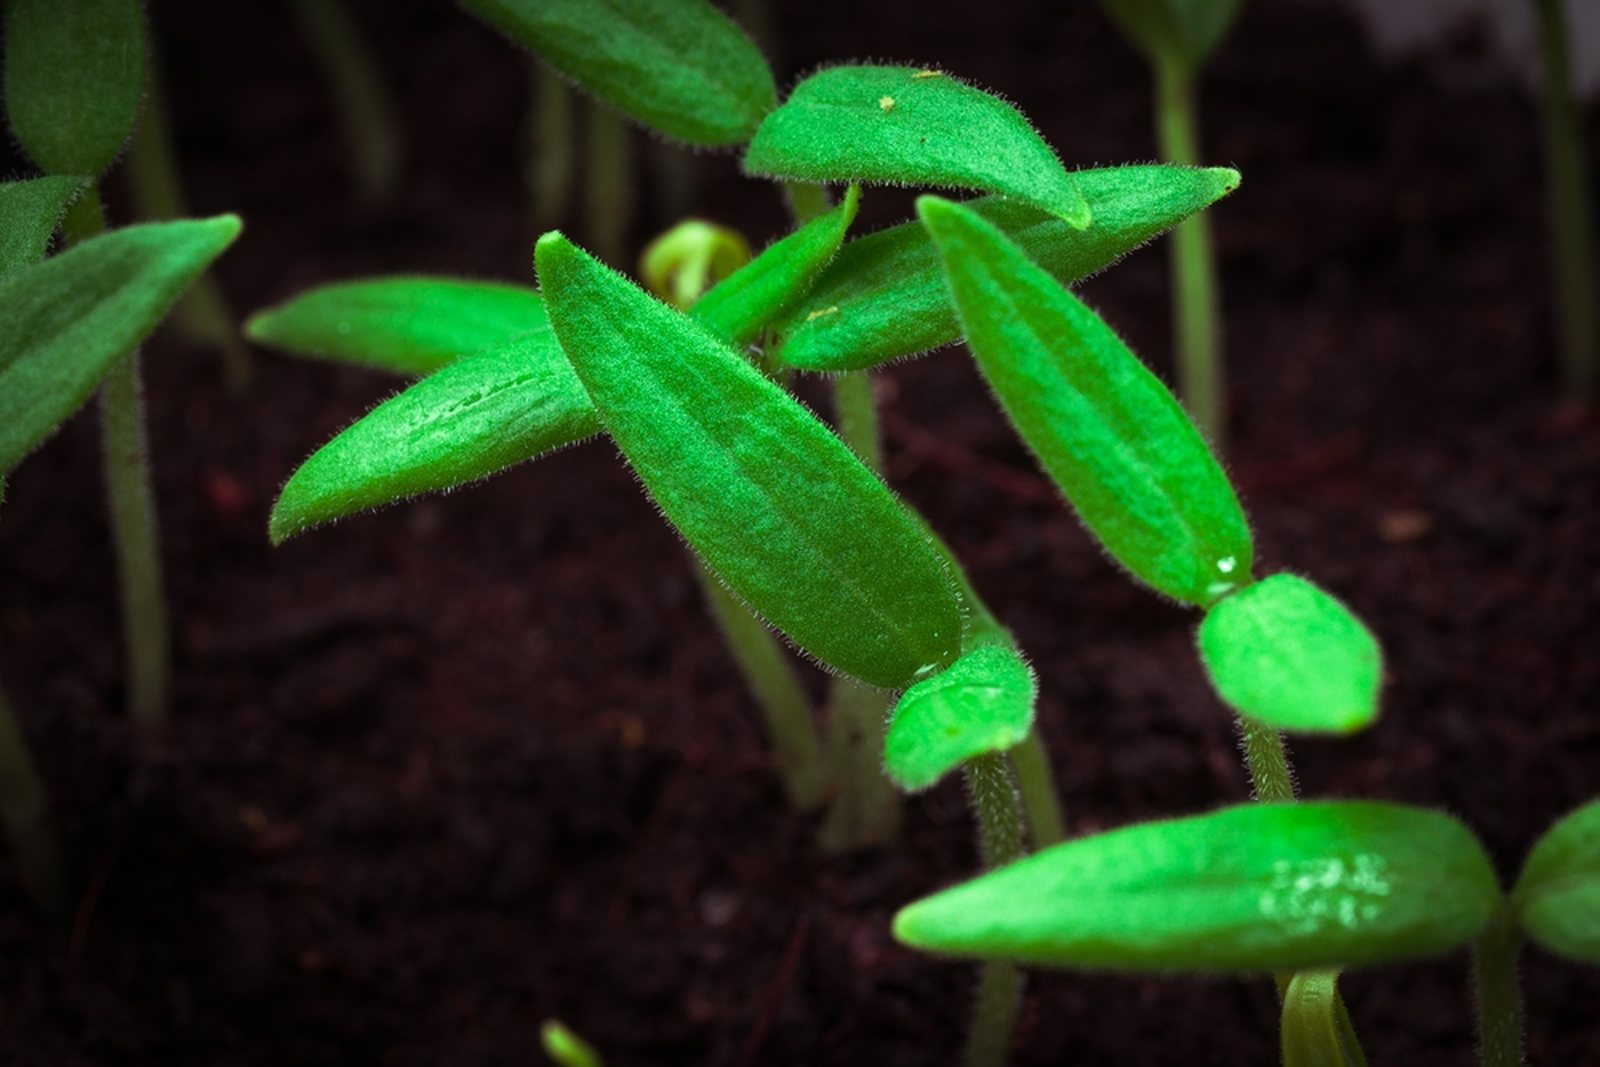
Once cotyledons appear, light becomes the limiting resource. A bright window may look adequate to a person while delivering weak, one-sided light to a seedling. Use strong overhead grow lights close enough to prevent stretching without overheating foliage. Raise the fixture as plants grow and rotate trays only when the light distribution is uneven.
Provide a consistent daily light period and a dark period. More hours do not compensate for a weak fixture indefinitely. Watch the plant: long pale stems, wide spacing between leaves, and leaning signal inadequate intensity or poor placement. Compact stems and broad green leaves indicate a better balance.
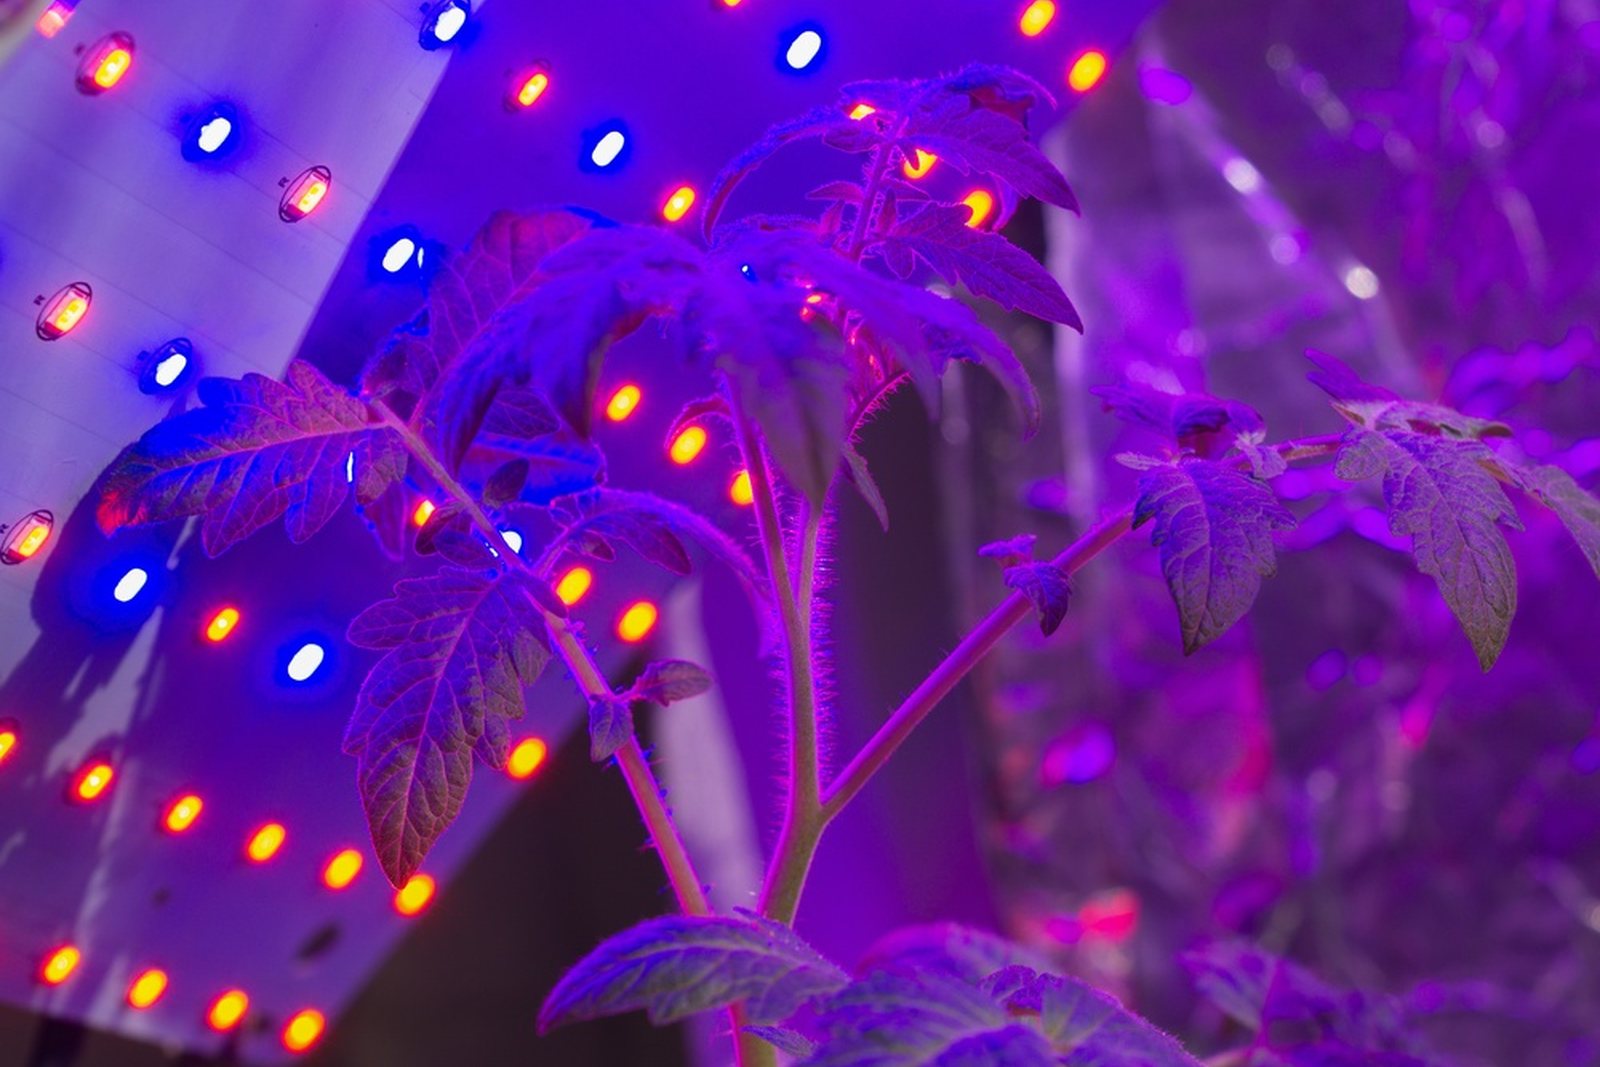
Temperature can be slightly cooler after emergence than during germination. Continued high warmth plus weak light drives soft growth. Air movement from a gentle fan helps strengthen stems and dry leaf surfaces, but do not aim a strong draft that dehydrates the cells.
Water the root ball, not the calendar
Lift the tray, feel the mix, and inspect cell color before watering. Small cells dry faster at edges and under moving air. Water thoroughly enough to moisten the root zone, then allow drainage. Constantly saturated mix restricts roots and favors damping-off, algae, and fungus gnats.
Bottom watering can reduce splash when used correctly, but do not leave trays standing in water. Remove them after the mix has absorbed moisture. Top watering is also workable with a gentle stream. The method matters less than the final result: even moisture with air still present in the root zone.
When one section dries faster, investigate light, heat mat edges, fan direction, tray level, and cell fill. Compensating forever with uneven watering hides the cause and produces uneven plants.
Begin light nutrition after true leaves develop
Seed-starting mixes may contain little fertility, while some commercial mixes include a starter charge. Read the label. Once seedlings develop true leaves and active roots, use a dilute complete fertilizer as needed rather than feeding heavily from the day of sowing.
Pale leaves can result from low fertility, but also from cold roots, waterlogged media, damaged roots, high salts, or weak light. Diagnose the system before increasing fertilizer. Excess nitrogen creates soft growth and does not solve a cold or saturated root zone.
Rinse salt accumulation by watering thoroughly when appropriate and ensure containers drain. Keep fertilizer records so differences between trays can be explained later.
Pot up before roots become a tight circling mass
Move seedlings when roots hold the original plug together and the plant needs more volume, not simply because a calendar says so. Handle by the leaves rather than crushing the stem. Tomatoes can form roots along buried stems, so a leggy seedling may be set somewhat deeper in the new pot, provided healthy leaves remain above the mix.
Use clean potting mix with drainage and water the transplant in. Return it to bright light quickly. A pot-up can temporarily slow top growth while roots expand, which is normal. Do not overwater the larger container just because the surface area increased.
One planned pot-up is enough for many home systems. Repeatedly moving plants into larger containers usually means the crop was started too early for the transplant date.
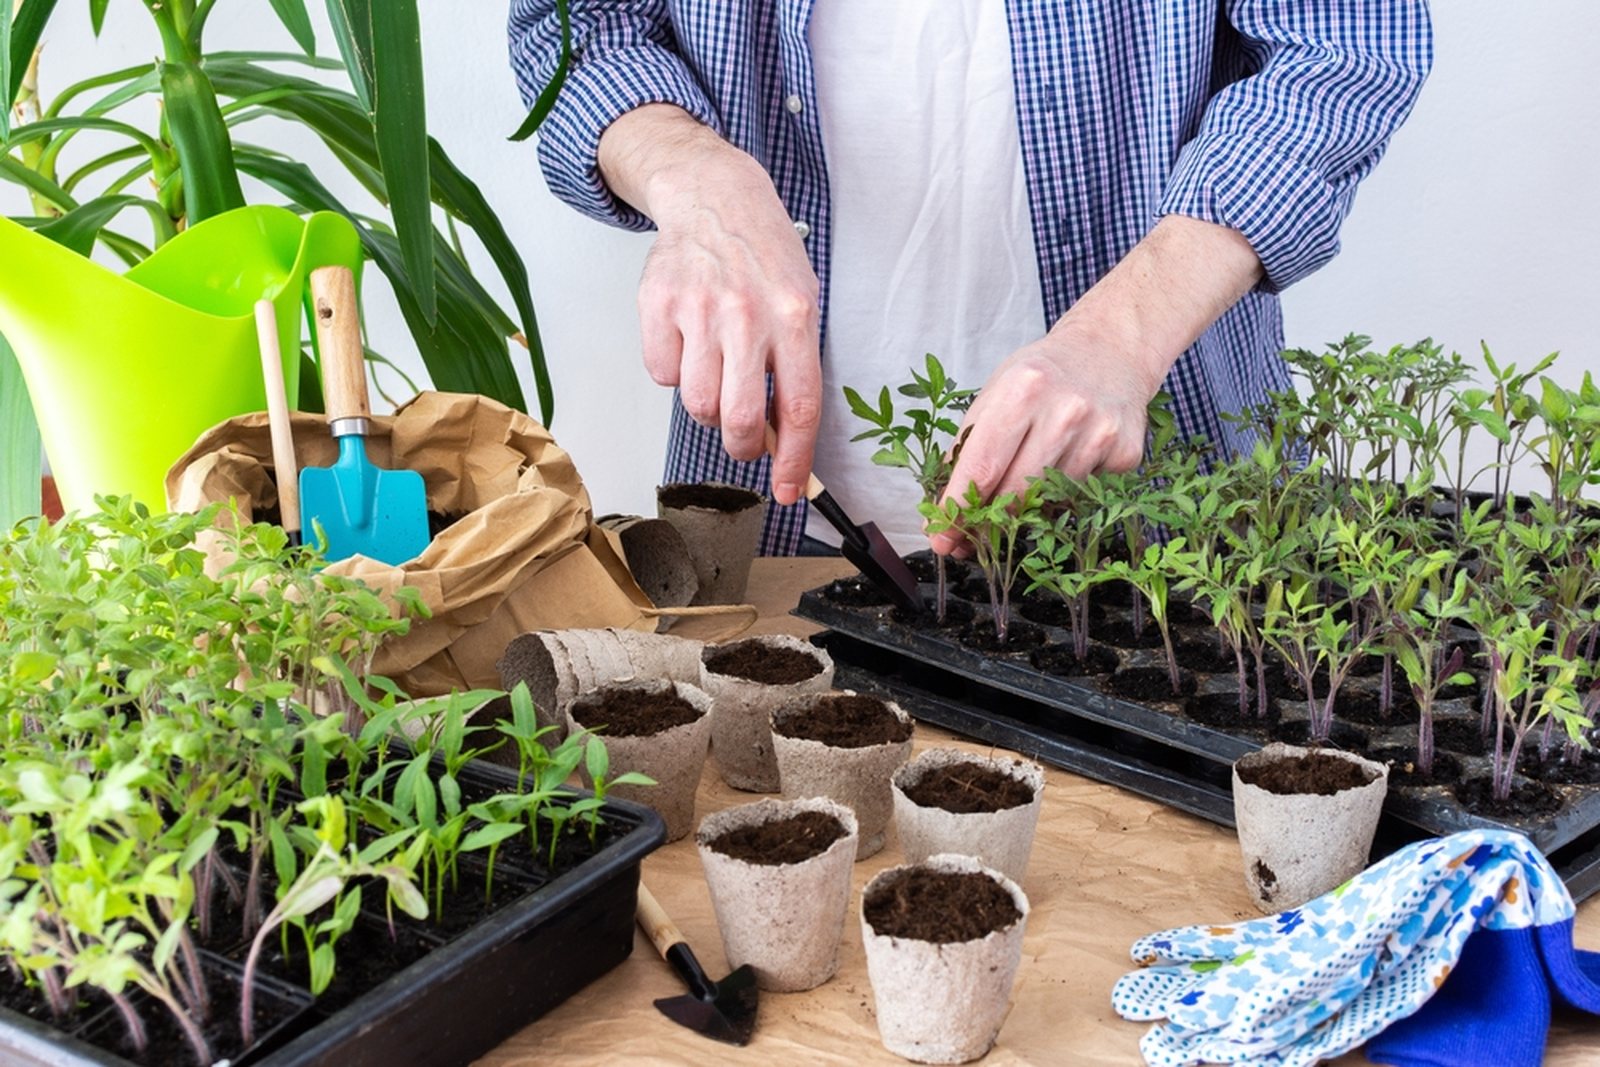
Harden seedlings gradually for sun, wind, and temperature
Indoor leaves are not prepared for full sun and wind. Begin hardening in a sheltered location for a short period, then increase outdoor exposure over roughly a week or more. Start with gentle morning light or bright shade, protect from cold, and avoid a first day of intense afternoon sun.
Reduce but do not withhold water to the point of wilting. The objective is acclimation, not punishment. Wind exposure should increase gradually. A seedling bent flat by a strong gust is not being hardened; it is being damaged.
Delay transplanting when a cold, saturated, or severe storm pattern is forecast. Healthy plants can remain in their pots a few extra days when watered and lit properly. A date on the calendar is not more important than the condition of the soil and weather.
Transplant into warm soil with support ready
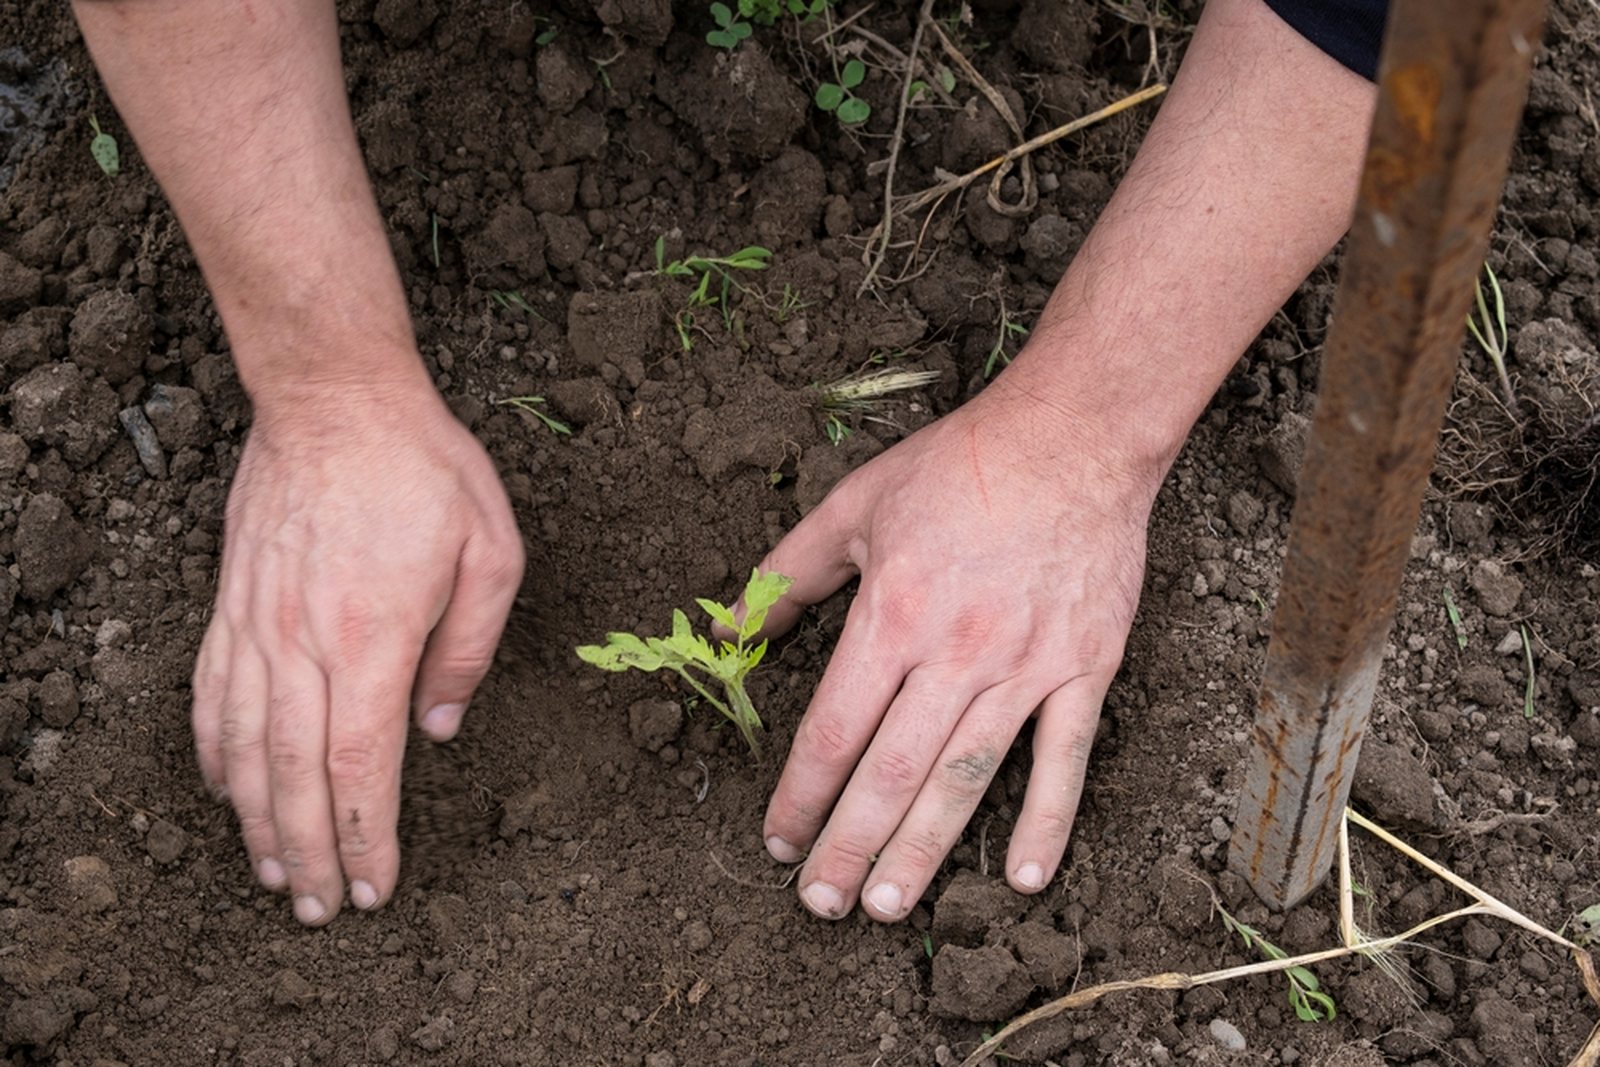
Choose a site with strong sun, drainage, and enough space for the mature habit. Install cages, stakes, or trellises at planting. Dig a hole that accommodates the root ball without bending roots into a hard pocket. Tomatoes may be set deeper than they grew in the pot when the stem is healthy, but remove leaves that would be buried.
Water the root ball and surrounding soil thoroughly. Mulch after the soil has warmed, keeping material away from the stem. Protect newly set plants from unexpected cold, severe wind, and intense sun if hardening was incomplete.
Do not judge success by whether the plant flowers immediately. A transplant that establishes roots and begins balanced new growth is better positioned for the season than one carrying stressed blossoms from a small pot.
Diagnose common seedling problems by pattern
| Symptom | Likely system checks | First response |
|---|---|---|
| No emergence | Media temperature, moisture, depth, seed age | Measure and wait through the expected window before reseeding |
| Tall pale seedlings | Light intensity and distance, continued high heat | Increase overhead light and improve temperature balance |
| Stem collapses at soil line | Damping-off pressure, saturation, sanitation, airflow | Remove affected plants and correct the environment |
| Purple stems or leaves | Genetics, cool roots, nutrient uptake, light | Warm the root zone and diagnose before fertilizing |
| Yellow lower leaves | Root binding, saturation, fertility, salts | Inspect roots and media moisture |
| Edema or corky spots | Water uptake exceeds transpiration | Improve airflow, light, and watering balance |
Photograph the tray and record where the problem occurs. A pattern along the heat-mat edge, fan side, or one media batch can identify the cause faster than examining one plant in isolation.
Adjust the schedule for the Mid-Atlantic and Upper South
Coastal and lower-elevation gardens may have an early spring transplant window followed by warm nights that slow midsummer fruit set. Starting on time helps the first flower clusters develop before severe heat. Mountain and northern gardens may face later frost and cooler soil, so holding plants indoors too long can be tempting. Use local frost records and current soil and weather conditions together.
A fall tomato crop is possible in some long-season southern areas, but count backward from likely frost and cooling weather. The plant needs time to establish, flower, set fruit, and ripen. Late seedlings that enter the garden during extreme heat may struggle even when the calendar appears long enough.
Keep the schedule from each year. After several seasons, your own transplant and first-ripe records become more useful than a national chart because they show how your system, location, and varieties behave.
Close the loop with a transplant-production record
- Variety and seed lot
- Sowing date and seed count
- Media and container
- Germination temperature
- First and final emergence
- Light fixture and schedule
- Pot-up date
- Fertilizer and watering notes
- Hardening dates
- Transplant date and plant condition
- First bloom and first ripe fruit
At season's end, connect seedling quality with garden performance. Note whether early flowering in the pot helped or delayed establishment, whether a later sowing caught up, and whether one variety needed more time. That record improves the next schedule without turning one season into a universal rule.
Diagnose seedlings by pattern, not by one leaf
Look at the whole tray. A problem affecting the wettest corner suggests media, drainage, or airflow. A problem affecting the edge nearest the light suggests heat or drying. A problem limited to one variety may be genetic, seedborne, or simply a different growth rate.
| What you observe | Most useful next check | Action that follows the evidence |
|---|---|---|
| Long pale stems | Measure light intensity, fixture distance, temperature, and crowding | Increase strong overhead light, reduce excess heat, and pot deeper if stems are healthy. |
| Stem pinches or collapses at the media line | Check for damping-off conditions and spread through the tray | Remove affected seedlings, improve sanitation and airflow, and avoid saturated media. |
| Purple leaves or stems | Check temperature, root function, and overall growth | Cold roots can limit phosphorus uptake. Warm the root zone before adding more fertilizer. |
| Leaves curl after moving outdoors | Review sun, wind, cold, and water exposure | Return to gentler hardening conditions and increase exposure gradually. |
Build a tomato seed-starting calendar backward from transplant day
This guide explains how to grow tomatoes from seed as a controlled transplant-production process. It answers when to start tomato seeds, how to measure tomato seed germination temperature, why leggy tomato seedlings develop, when potting up tomato seedlings is necessary, and how to harden tomato seedlings before transplanting.
The most common mistake in how to grow tomatoes from seed is starting by the calendar month instead of the garden conditions. Choose a realistic transplant date after frost danger when soil is warming and night temperatures are no longer repeatedly cold. Then count backward about five to eight weeks. Under strong light, warm media, and timely potting, five to six weeks can produce excellent plants. Longer schedules require more space and root volume.
| Weeks before transplant | Expected work | Decision point |
|---|---|---|
| 8 to 6 | Sow only if light and pot-up space are adequate | Will plants be held in small cells too long? |
| 6 to 5 | Typical sowing window under good indoor conditions | Is media temperature controlled and measured? |
| 4 to 3 | First true leaves and likely pot-up | Are roots filling the cell without circling? |
| 2 | Steady growth, light feeding, support if needed | Is outdoor weather still on schedule? |
| 10 to 7 days | Begin gradual hardening | Can plants be protected from wind, cold, and harsh sun? |
| Transplant day | Plant deeply, water the root ball, install support | Is soil warm and is frost risk acceptable? |
If outdoor planting is delayed, slow the crop rather than allowing it to become root-bound. Provide more root volume, strong light, moderate temperature, and careful nutrition. Removing early flowers is less important than correcting the conditions that produced a stressed transplant.
Label the seed lot before the first seed touches media
A tomato seedling is not identifiable by memory. Use a durable tray label and a written or digital record containing full variety name, lot, supplier, sowing date, cell count, and seed count. When several dark, pink, or paste tomatoes are started together, a missing label becomes a season-long identity problem and makes responsible seed saving impossible.
Record germination as normal seedlings, not merely split seed coats. Germination percentage equals normal seedlings divided by seeds sown times 100. Also record median emergence time and uniformity. A lot can have acceptable final germination but emerge so slowly and unevenly that transplant production becomes difficult.
Example: If 23 normal seedlings emerge from 25 seeds, germination is 92 percent. If most emerge on day 5 and two emerge on day 12, record both the final percentage and the delayed tail. That information helps determine whether temperature, age, or seed vigor needs attention.
Use seed-starting media and sowing depth that protect oxygen around the seed
Tomato seed needs moisture, warmth, and oxygen. Heavy garden soil in small cells can compact and remain saturated. Use a clean, fine, well-drained seed-starting mix. Pre-moisten it so water is distributed through the media without creating a muddy surface.
- Fill cells without compressing them into hard blocks.
- Sow one or two seeds per cell about 1/4 inch deep.
- Cover lightly with mix or fine vermiculite.
- Water gently from below or with a fine stream.
- Use a humidity cover only until emergence begins.
- Remove the cover promptly after emergence to improve airflow.
Do not keep the tray constantly saturated. A glossy wet surface, algae, sour odor, or seedlings pinched at the soil line indicates too much moisture, poor airflow, contaminated media, or a combination.
Measure the root-zone temperature, not the room temperature
Tomato seed germinates fastest in warm media, commonly around 70 to 85 F. A room thermometer several feet away does not report the temperature in a wet tray beside a cold window. Insert a clean probe into the media or place the sensor where it reflects tray conditions.
| Observation | Likely cause | Next check |
|---|---|---|
| No emergence after the expected window | Cold media, old seed, deep sowing, or saturation | Measure media temperature and inspect one seed |
| One side emerges first | Uneven heat or moisture | Map tray temperature and rotate only after identifying the gradient |
| Seedlings emerge then collapse | Damping-off conditions | Check saturation, airflow, sanitation, and stem lesions |
| Media dries daily on heat mat | Excess heat or shallow cells | Lower heat, improve tray contact, and remove mat after emergence |
Bottom heat is a germination tool, not a permanent requirement. Once most seedlings emerge, remove or reduce heat if it is causing rapid drying or weak growth.
Give tomato seedlings enough light before they stretch
A sunny window often looks bright to a person but provides uneven light to a fast-growing tomato. University Extension guidance commonly recommends keeping lights close to seedlings, often within about 4 inches depending on the fixture, and providing a consistent day of roughly 12 to 16 hours. The exact distance depends on lamp intensity and heat, so observe the plants and measure when possible.
- Pale, long internodes and leaning stems indicate insufficient or one-sided light.
- Purple color alone can reflect genetics, cool roots, or nutrient stress; it is not a reliable light meter.
- Bleached upper leaves or dry patches can indicate excessive intensity or heat.
- Leaves held horizontally with short internodes usually indicate a better balance.
Use a timer. Seedlings also need a dark period. Raise the light as plants grow so the canopy remains evenly illuminated. Space trays so one row does not shade the next.
Water the root ball by weight and depth, not by a daily promise
Lift trays and pots to learn the difference between fully watered and nearly dry. Check below the surface. Water thoroughly enough to wet the root ball, then allow air to return before watering again. Constant shallow sips keep the upper media wet while deeper roots may remain poorly developed.
| Symptom | Water-related possibility | How to verify |
|---|---|---|
| Wilt with light pot | Dry root ball | Check depth and water thoroughly |
| Wilt with heavy wet pot | Low root oxygen or root disease | Inspect drainage and roots before adding water |
| Lower leaves yellow uniformly | Overwatering, low nitrogen, root restriction, or low light | Compare pot weight, roots, feeding, and light |
| Leaf edges dry | Salt accumulation, drought, heat, or fan injury | Review fertilizer concentration and watering pattern |
Bottom watering can hydrate media evenly, but do not leave cells standing in water. Drain the tray after the root ball has absorbed moisture.
Feed tomato seedlings lightly and read the whole plant
Seed-starting mixes may contain little fertility. Begin a dilute, complete fertilizer after true leaves develop if the mix does not already provide nutrients. Follow the product label rather than inventing a concentration. Frequent high-strength feeding can produce soft growth, salt injury, or root damage.
Before diagnosing a deficiency, check four basics: media pH, root condition, moisture, and temperature. A cold or saturated root system can fail to take up nutrients even when fertilizer is present. Adding more fertilizer can make the problem worse.
- Healthy growth is steady, not explosive.
- Stems should be sturdy relative to height.
- New leaves should expand without severe distortion.
- Roots should be pale and branching, not brown, slimy, or circling densely.
Pot up tomato seedlings when the root system needs space
Pot-up timing should be based on roots, not a fixed leaf count. Slide one representative plant from the cell. Move up when roots hold the media together but have not formed a dense circling mat. A plant that wilts every day despite normal watering may have outgrown the cell.
- Water seedlings a few hours before transplanting.
- Handle by the leaves or root ball rather than crushing the stem.
- Use fresh well-drained potting mix.
- Plant deeper if the stem is elongated and healthy; tomato stems can form adventitious roots.
- Water the new root ball thoroughly and return plants to good light.
- Do not immediately saturate again unless the media has actually dried.
A larger pot is not useful if it is filled with heavy, oxygen-poor media. Root volume and media structure work together.
Harden tomato seedlings for sun, wind, temperature, and water demand
Hardening is controlled exposure, not abandonment outdoors. Indoor leaves have not developed under full ultraviolet light, wind, and rapid evaporation. Start in bright shade or gentle morning sun, then increase exposure over 7 to 10 days.
| Day range | Exposure | Watch for |
|---|---|---|
| 1 to 2 | One to two hours in bright shade, sheltered from wind | Wilting or cold stress |
| 3 to 4 | Morning sun and light air movement | Bleached leaf patches |
| 5 to 7 | Longer outdoor periods with increasing sun | Rapid container drying |
| 8 to 10 | Conditions similar to the garden, avoiding frost and severe storms | Plants recovering overnight |
Wind can dry small pots faster than heat. Check root-zone moisture more often during hardening, but do not keep plants waterlogged. A hardened plant should remain sturdy and recover after exposure, not accumulate injury.
Transplant tomatoes into warm soil with support ready
Choose a cloudy period or later part of the day when possible. Water the root ball before planting. Remove lower leaves and plant deeply enough to bury a healthy portion of stem, or lay a long transplant in a shallow trench with the top turned upward. Avoid burying diseased tissue.
- Install stake, cage, or trellis at planting.
- Water the root ball and surrounding soil thoroughly.
- Do not place concentrated fertilizer against roots or stem.
- Protect from unexpected cold and strong wind.
- Mulch after the soil is warm and the transplant has settled.
- Record the plant number and field position.
Transplant quality is not measured by height. A shorter plant with a thick stem, compact internodes, healthy roots, and active new growth is usually more useful than a tall flowering plant held too long indoors.
Tomato seedling troubleshooting by pattern
| Pattern | Most useful questions | First response |
|---|---|---|
| Tall and pale | How close and how long are the lights on? Is the room excessively warm? | Increase effective light and reduce crowding |
| Purple undersides | Are roots cold, wet, damaged, or restricted? Is the cultivar naturally purple? | Warm and aerate the root zone before fertilizing blindly |
| Lower yellow leaves | Is the pot heavy and wet? Are roots circling? Has feeding begun? | Inspect roots and media moisture |
| Pinched stem at soil line | Is media saturated and airflow poor? | Discard affected seedlings, improve sanitation and drying |
| New leaves twisted | Was herbicide-contaminated compost, manure, or spray drift possible? | Isolate plants and investigate exposure before treating |
| White patches after outdoor exposure | Was full sun introduced too quickly? | Return to shade and harden more gradually |
| Daily wilt in small cell | Does the root mass fill the cell? | Pot up and restore root volume |
Keep one unaffected tray as a comparison when testing a change. Adjust one major variable at a time. That turns seed starting from guesswork into a repeatable production system.
Detailed questions about growing tomatoes from seed
How early should I start tomato seeds indoors?
Usually about five to eight weeks before a realistic transplant date. Under strong light, warm media, and timely potting, five to six weeks often produces sturdy plants. Starting too early creates root-bound transplants unless you have more space and larger pots.
What temperature do tomato seeds need to germinate?
Warm media around 70 to 85 F supports rapid germination. Measure the mix rather than the room. Cool saturated media delays emergence and increases disease risk.
How deep should tomato seeds be planted?
About 1/4 inch is a useful starting point in fine seed-starting mix. Cover lightly and keep evenly moist, not waterlogged. Deep sowing and crusted media can delay or prevent emergence.
How close should grow lights be to tomato seedlings?
Many LED or fluorescent setups work within roughly four inches of the canopy, but fixture intensity and heat vary. Keep lights close enough for short internodes without bleaching or heating leaves, and adjust height as plants grow.
When should tomato seedlings be potted up?
Inspect roots. Pot up when they hold the cell together but before they become a dense circling mass. Daily wilting in a small cell is a strong clue that root volume is inadequate.
Why are my tomato seedlings purple?
Purple color can be genetic or can appear when cool, wet, damaged, or restricted roots cannot take up phosphorus efficiently. Warm and aerate the root zone and inspect roots before adding high-phosphorus fertilizer.
Should tomato seedlings have flowers before transplanting?
Flowers are not a quality requirement. A compact plant with healthy roots and no flowers often establishes better than an old root-bound plant in bloom. If flowers appear, correct the schedule and root volume rather than treating flowering as success.
Can leggy tomato seedlings be planted deeply?
Healthy elongated stems can be buried or laid in a shallow trench because tomatoes form roots along buried stem tissue. Deep planting does not correct weak light, so improve the seedling environment too.
Frequently asked questions
How early should I start tomato seeds?
About six to eight weeks before the intended transplant date works for many home systems. Adjust for light, temperature, container volume, variety, and local weather.
Do tomato seeds need light to germinate?
Cover them lightly. Warm, evenly moist media is important for germination; strong light becomes urgent immediately after emergence.
Should I use a heat mat?
A thermostatically controlled mat can improve root-zone warmth and uniformity. Measure the media and remove or reduce heat after emergence when continued warmth causes stretching or drying.
Why are my seedlings leggy?
Light is usually too weak or too far away, often combined with continued high temperature and crowding. Improve overhead light and spacing.
Can I bury a leggy tomato stem?
Tomatoes can form roots along buried healthy stems. Set the plant deeper during potting up or transplanting while keeping leaves above the mix and avoiding saturated conditions.
When can tomatoes go outside?
After frost danger, when soil and nights are warm enough, and after seedlings have been hardened gradually to sun, wind, and outdoor temperature.